Live System Analysis: Extracting BitLocker Keys
May 20th, 2022 by Oleg AfoninCategory: «General»
Live system analysis is the easiest and often the only way to access encrypted data stored on BitLocker-protected disks. In this article we’ll discuss the available options for extracting BitLocker keys from authenticated sessions during live system analysis.
Imaging physical disks installed in the computer is a mandatory first step in forensic analysis. However, BitLocker drive encryption, if enabled, effectively blocks access to encrypted data. If the computer is equipped with a TPM2.0 module or its emulation (Intel PTT or AMD fTPM), a password attack would be meaningless: the protector is stored in the TPM module, and one cannot extract it from there.
Windows developers designed an alternative way of gaining access to encrypted data in case of emergencies. Should the user alter their computer hardware or the TPM module malfunctions, Windows will prompt for an all-digits recovery key.
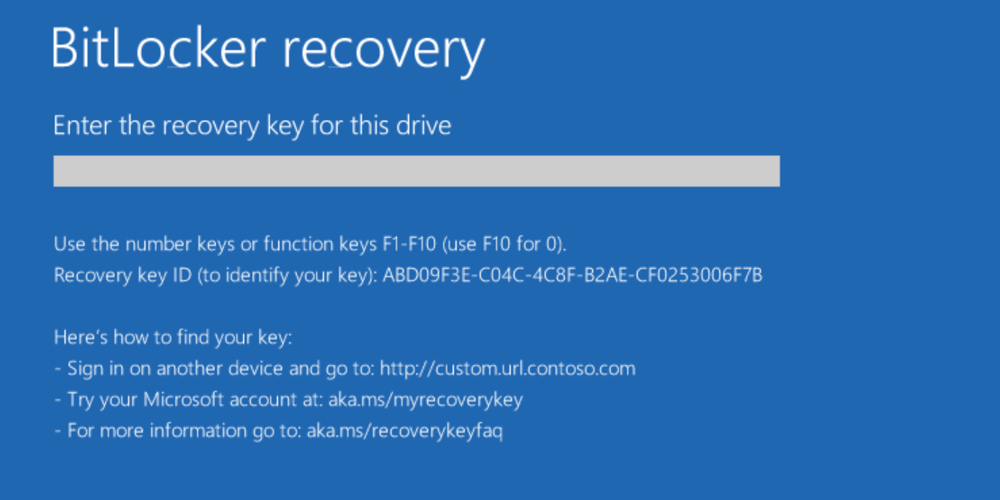
The recovery key is unique per encrypted disk. It may be stored in the user’s Microsoft Account online, or it may be saved elsewhere. Experts can use such keys to mount or decrypt BitLocker disks and disk images. What shall you do if the recovery key is not available but you have access to the user’s unlocked computer?
How to extract BitLocker keys during live system analysis
There are several options for extracting BitLocker keys when analyzing a live system. Administrative privileges are required using either of them.
Option 1: extract BitLocker keys using Windows built-in GUI or command-line tools.
Option 2: use Elcomsoft Forensic Disk Decryptor to image the computer’s RAM and search the resulting image for disk encryption keys.
Note that administrative privileges are absolutely required with either method. Non-administrative accounts do not have access to either the keys or the RAM.
The easiest method employs the BitLocker Drive Encryption applet in Windows Control Panel. If the system disk is encrypted, three options will be available:
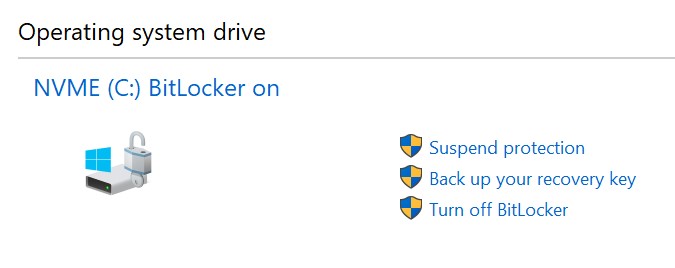
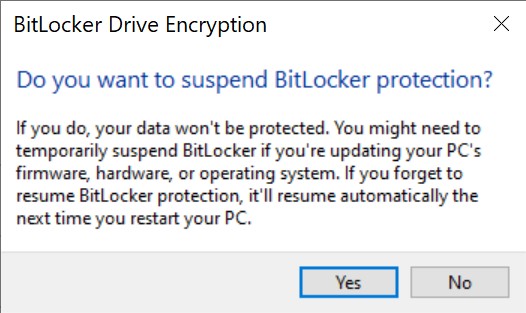
- Suspend protection: this is the easiest way to temporarily suspend BitLocker protection. If you use this command, the BitLocker key will be saved in the volume header unprotected. This in turn allows Windows to automatically mount the disk without the need to enter any additional keys. However, Windows may automatically re-encrypt the volume key once the suspended disk is mounted. For this reason, we still recommend extracting the recovery key as opposed to suspending protection.
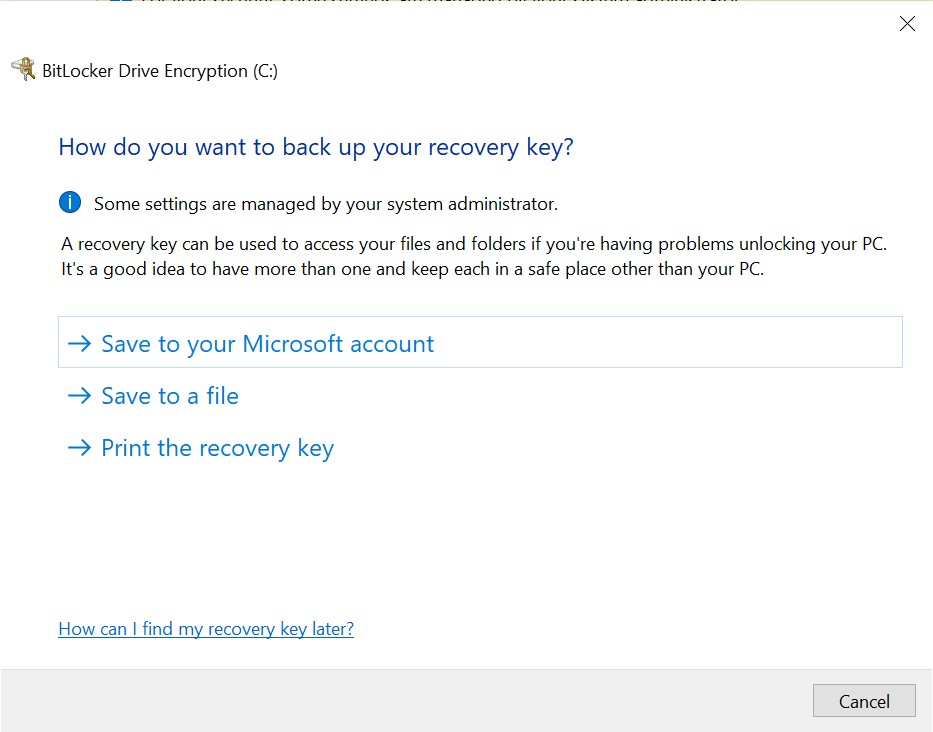
- Back up your recovery key: saves the backup key (numerical password) into a file. Note: Windows may refuse saving the backup key to the root of the storage media (you’ll need to use a subfolder) or onto another BitLocker-encrypted disk.
You can also extract BitLocker keys via the command line or Power Shell.
To save a copy of the BitLocker recovery key run cmd.exe with administrative privileges (“Run as administrator”), then type the following command:
manage-bde -protectors -get C:
You will get the following output:
C:\WINDOWS\system32>manage-bde -protectors -get C:
BitLocker Drive Encryption: Configuration Tool version 10.0.19041
Copyright (C) 2013 Microsoft Corporation. All rights reserved.

Volume C: [NVME]

All Key Protectors

TPM:
ID: {XXXXXXXX-XXXX-XXXX-XXXX-XXXXXXXXXXXX}
PCR Validation Profile:
0, 2, 4, 11

Numerical Password:
ID: {YYYY-YYYY-YYYY-YYYY-YYYYYYYYYYYY}
Password:
123456-123456-123456-123456
The Password field under “Numerical Password:” contains the BitLocker recovery key for the given key ID.
You can also use Power Shell to save the recovery keys to all currently mounted BitLocker volumes. To do that, create a text file and give it the .ps1 extension (e.g. “backup-bitlocker.ps1”), paste the code from the listing below, save the file, and run in in powershell launched as administrator.
# Export the BitLocker recovery keys for all drives and display them at the Command Prompt.
$BitlockerVolumers = Get-BitLockerVolume
$BitlockerVolumers |
ForEach-Object {
$MountPoint = $_.MountPoint
$RecoveryKey = [string]($_.KeyProtector).RecoveryPassword
if ($RecoveryKey.Length -gt 5) {
Write-Output ("The drive $MountPoint has a BitLocker recovery key $RecoveryKey")
}
}
Using Elcomsoft Forensic Disk Decryptor
Alternatively, you can use Elcomsoft Forensic Disk Decryptor to image the computer’s RAM and scan it for disk encryption keys. To capture the RAM image, run the command line tool included with Elcomsoft Forensic Disk Decryptor on the computer being investigated. You will need administrative privileges for the tool to work. The RAM image must be saved to external media with sufficient free space; the media must be formatted in NTFS or exFAT. Note that FAT32 does not support files larger than 4GB, which is smaller than the typical amount of RAM in modern computers.
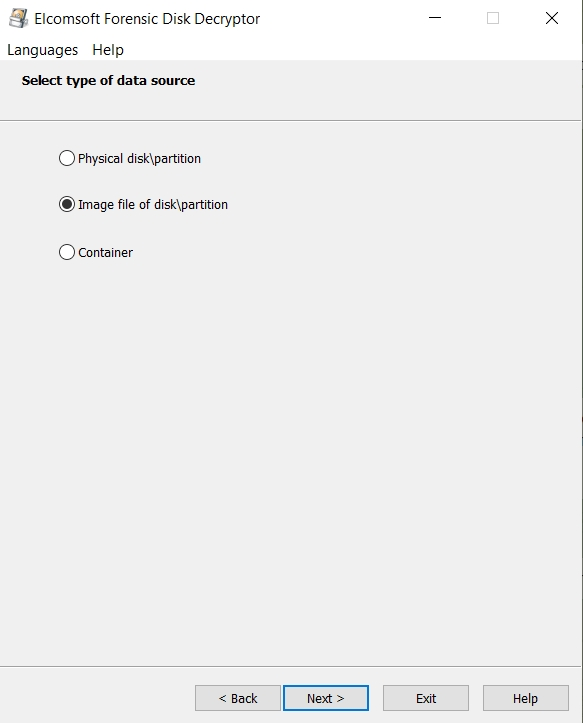
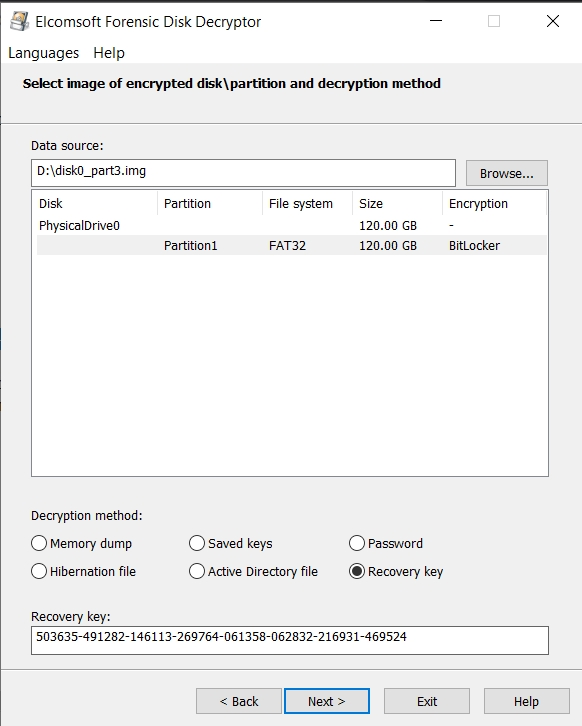
Once you have obtained the RAM image, open it with Elcomsoft Forensic Disk Decryptor and scan it for encryption keys. Despite the fact that this method is more complicated and takes longer, it may also discover encryption keys for third-party disk encryption tools such as TrueCrypt or VeraCrypt.
Mounting or decrypting the disk
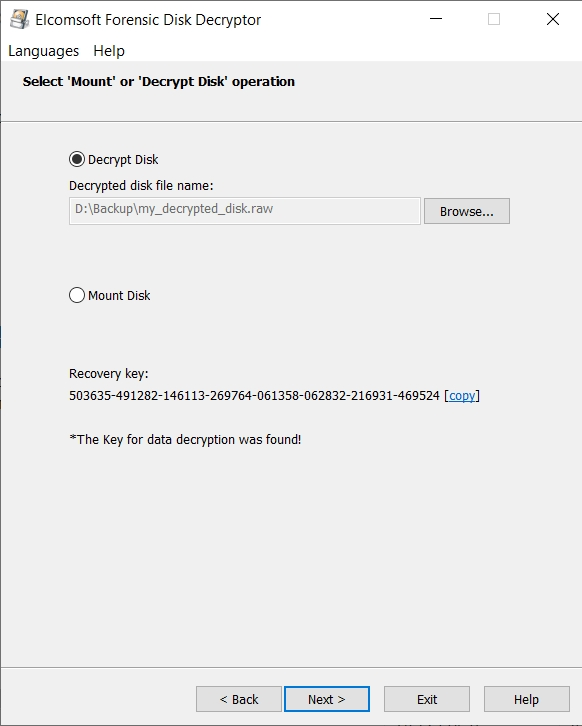
Once the encryption keys have been discovered, you can decrypt or mount the disk. You can either decrypt the entire drive or mount it as a volume. We use ImDisk virtual disk driver installed with Elcomsoft Forensic Disk Decryptor to mount the disks.

You can opt to decrypt the entire disk image for offline analysis:
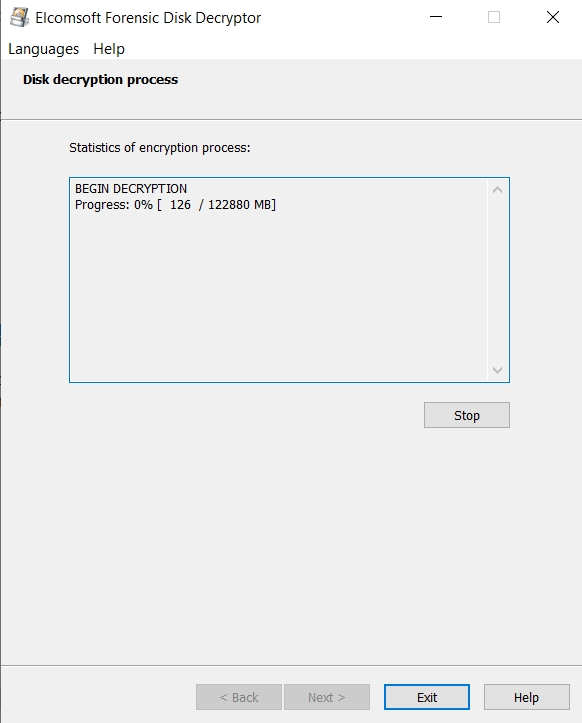
The decryption may take a while:
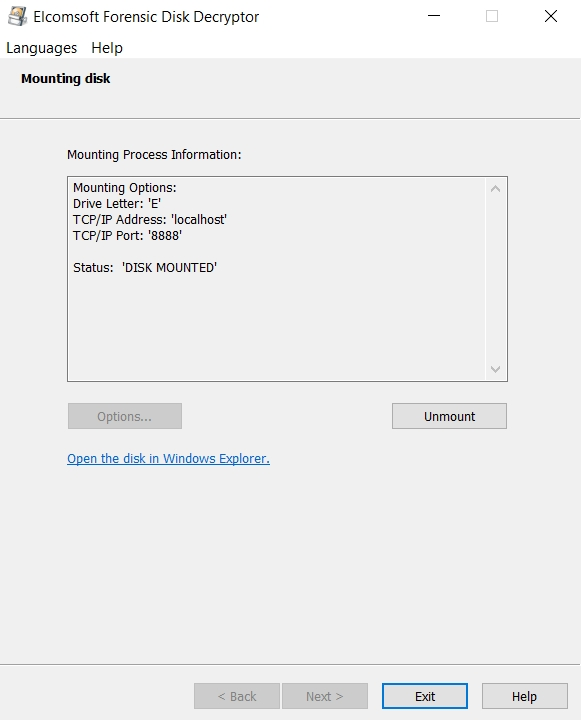
Alternatively, you can mount the disk as a drive letter. This process is instant.
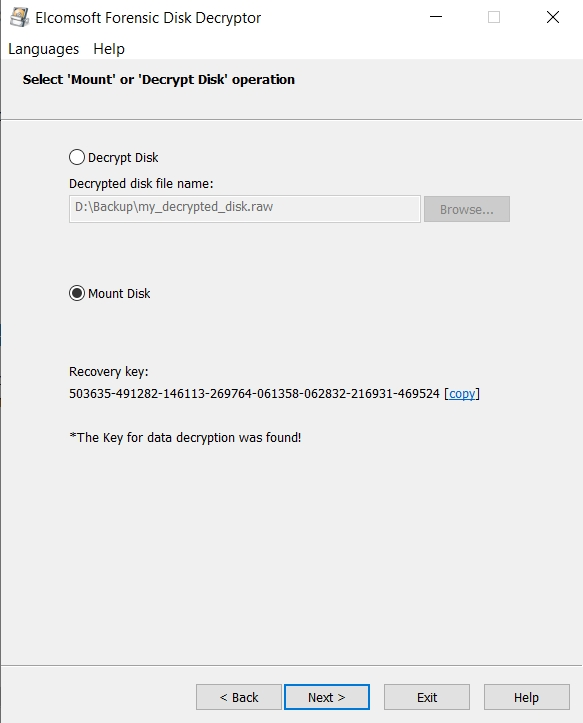
Once the disk is mounted, you can access it via its assigned drive letter.
Conclusion
Extracting BitLocker keys with Windows tools is easy if the authenticated user has administrative privileges. You can use the extracted BitLocker keys to mount the disk or decrypt the disk image using Windows and third-party programs.
Elcomsoft Forensic Disk Decryptor is more complicated. The encryption keys it discovers can only be used in Elcomsoft Forensic Disk Decryptor. However, the tool can be used to locate keys for third-party disk encryption tools such as TrueCrypt or VeraCrypt, which is something you cannot do with Windows built-in tools.
REFERENCES:

Elcomsoft Forensic Disk Decryptor
Elcomsoft Forensic Disk Decryptor offers forensic specialists an easy way to obtain complete real-time access to information stored in popular crypto containers. Supporting desktop and portable versions of BitLocker, FileVault 2, PGP Disk, TrueCrypt and VeraCrypt protection, the tool can decrypt all files and folders stored in crypto containers or mount encrypted volumes as new drive letters for instant, real-time access.
Elcomsoft Forensic Disk Decryptor official web page & downloads »

- iOS Forensic Toolkit 10.10 adds pairing-free sideloading of the extraction agent24 June, 2026
- Elcomsoft Phone Breaker 11.2: downloads iOS 26 iCloud backups18 June, 2026
- Elcomsoft Phone Breaker 11.1: reliable iCloud backup extraction26 May, 2026
- ElcomSoft Phone Breaker 11: full overhaul of iCloud extraction30 April, 2026
- iOS Forensic Toolkit 10.02 adds agent-based extraction for iOS 2629 April, 2026