HomePod Forensics I: Pwning the HomePod
March 14th, 2023 by Oleg AfoninCategory: «Tips & Tricks»
In this article, we will discuss how to access the hidden port of the first-generation HomePod and extract its file system image. Note that this process requires disassembly, voids the HomePod warranty, and requires specific tools, including a custom 3D-printable USB adapter, a set of screws, and a breakout cable. Therefore, this method is not recommended for casual users and should only be used by professionals who have a thorough understanding of the process.
Background
Introduced in early 2018, the HomePod is Apple’s smart speaker that has been designed to offer a superior audio experience while featuring a smart assistant, Siri, that helps users manage their daily tasks, listen to music, and control their smart home devices. While the HomePod is known for its sound quality, smart assistant, and tight integration into the user’s Apple ecosystem, it also contains valuable information that experts may want to access.
The first-generation HomePod is based on the Apple A8 chip, which is the same chip found in the iPhone 6. This chip is vulnerable to the checkm8 exploit, which makes the first-generation HomePod a potential source of digital evidence during forensic investigations. Just like the Apple TV, the HomePod cannot be protected with a passcode, which makes it a relatively easy target. Interestingly, the iPhone 6 was never updated beyond iOS 12.x, while the HomePod runs the latest OS version (currently 16.3.1). The OS is very similar to tvOS; we’ll discuss it in the next article.
Prerequisites
To access the information in the HomePod, you will need all of the following.
- The original first-generation HomePod that was set up and used for some time (iOS version does not matter).
- A custom 3D-printable USB adapter to connect the HomePod to a computer. If you build this adapter yourself, you’ll need access to a 3D printer and some soldering skills.
- Speaking of the computer, you’ll need a Mac. Currently we only support checkm8 on macOS.
- Elcomsoft iOS Forensic Toolkit 8 to apply the checkm8 exploit, pull and decrypt the keychain and extract the file system image. Did I mention you’ll need a Mac to run it?
Accessing the hidden port
The first-generation HomePod has a communication port hidden under the bottom lid. To access this port, you will need to remove the bottom lid first. The lid is glued in; you will need to heat it with a fan, then use a flat screwdriver. We had to repeat the heating process several times as to not damage the lid.
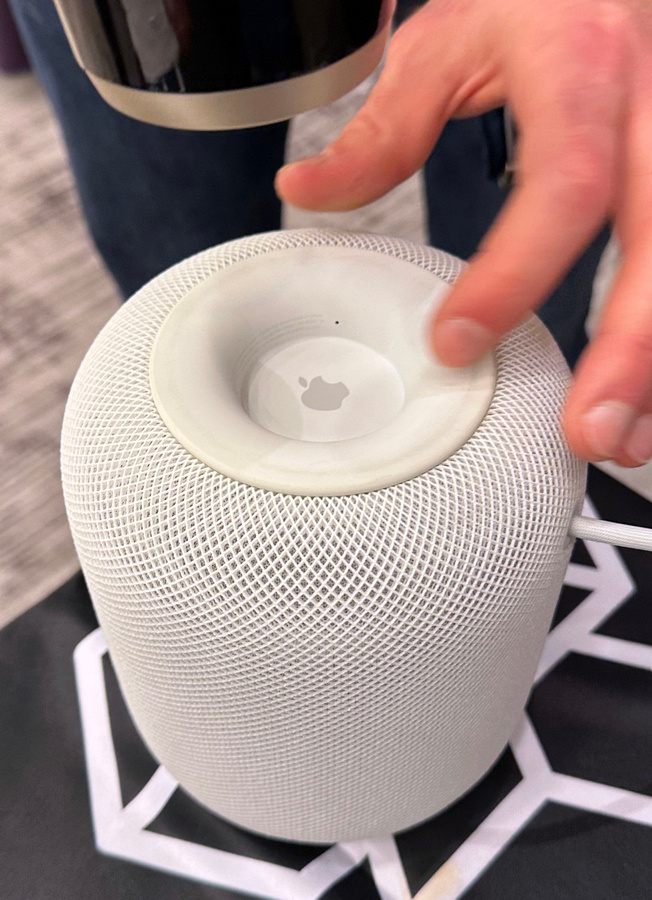
Before you begin, make sure the HomePod is powered off. Turn the speaker upside down and place it on a piece of soft cloth.
Once the HomePod is upside down, the bottom lid is exposed. The diagnostic port hides under the lid, so we need to remove it to access the port. The lid is held by some glue; you’ll need to heat and peel to take it off. Heat it with an ordinary fan; apply the heat in short sessions to avoid melting. 10 to 15 seconds is enough to start the process.
Then use a flat screwdriver:
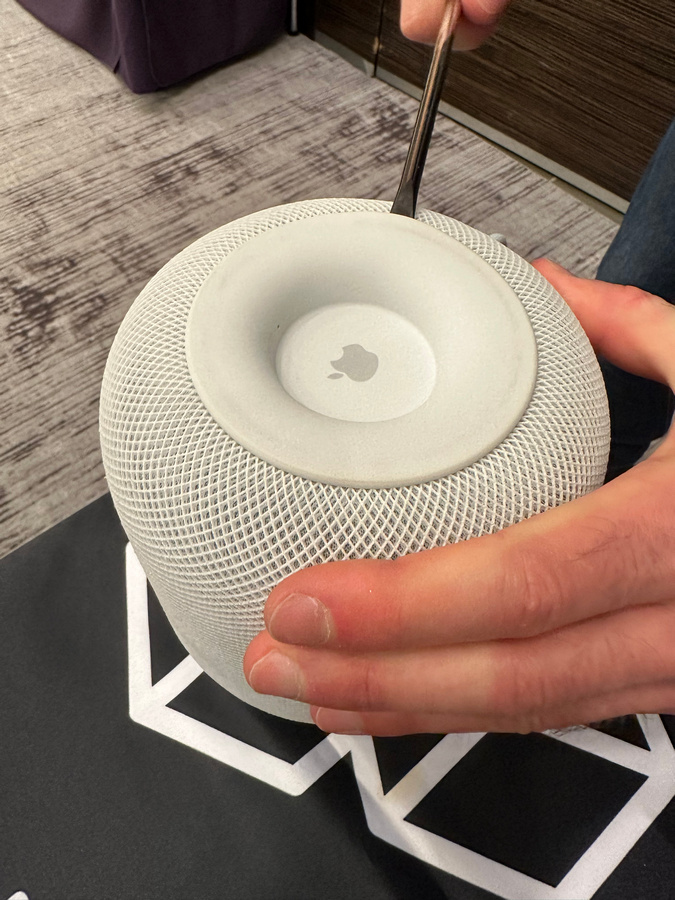
Heat again and repeat as many times as needed. Do not rush or you may damage the lid.

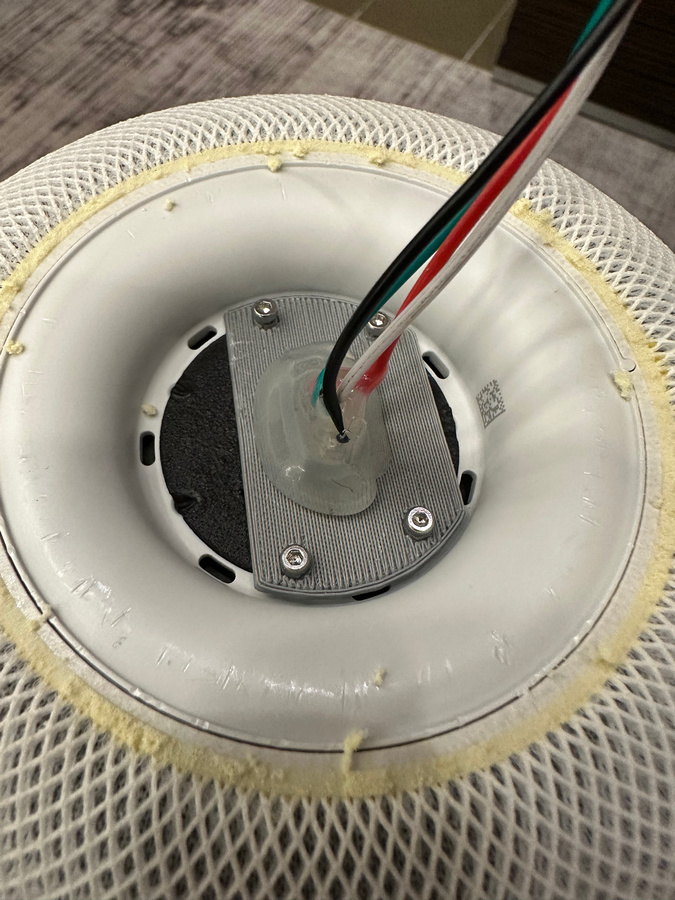
Once the lid is gone, you will see the diagnostic port.

This is a combination USB/UART port. Since we don’t need UART for our purpose, we’ll just use a simple 3D-printable adapter to connect to the pins.
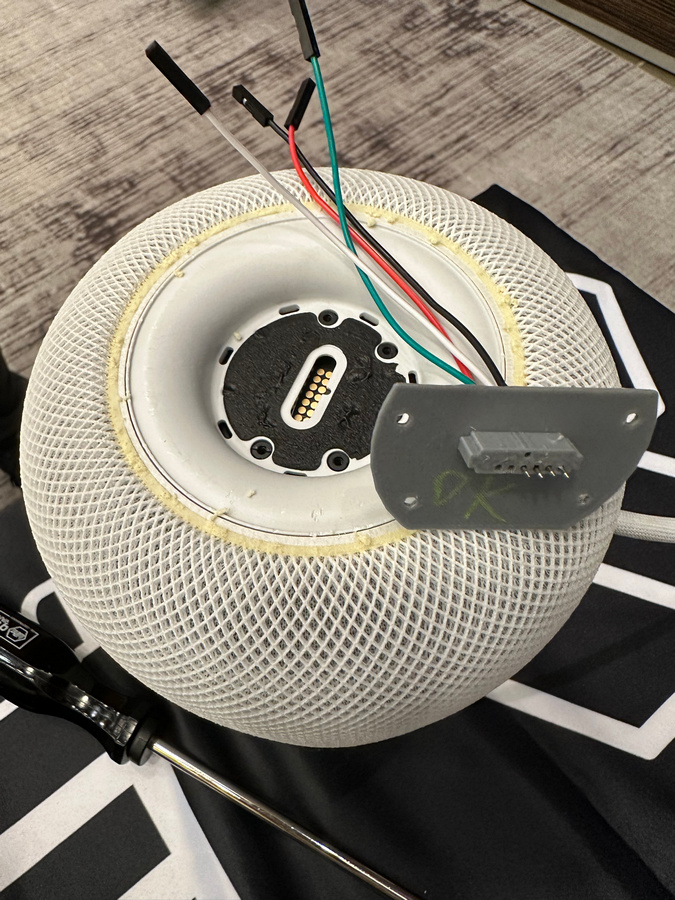
We’ve used the simplest 3D printable adapter, which exposes the connections and can be used for USB (only). The complete instructions are available in GitHub – Elcomsoft/homepwn. UART connections are also exposed, but aren’t needed for our purpose. Additionally you will need M2x6 screws and Pogo pins. The ones we used have the following properties:
- 1.02 mm outer diameter
- 15.8 mm total length
- 1.4 mm pin length (such as these)
Print with the side going into the HomePod facing upwards and print with support. First solder wires to the pins, only then insert them into the adapter (otherwise the 3D printed plastic will melt). Make sure they have a good solder connection, otherwise the USB connection will be very unstable or will not work at all.
Note: if you need UART access, you’ll need to insert two more pogo pins, then connect the two wires to a 1.8v UART to USB adapter. This is not needed for our purposes.
Attach the adapter with four screws:
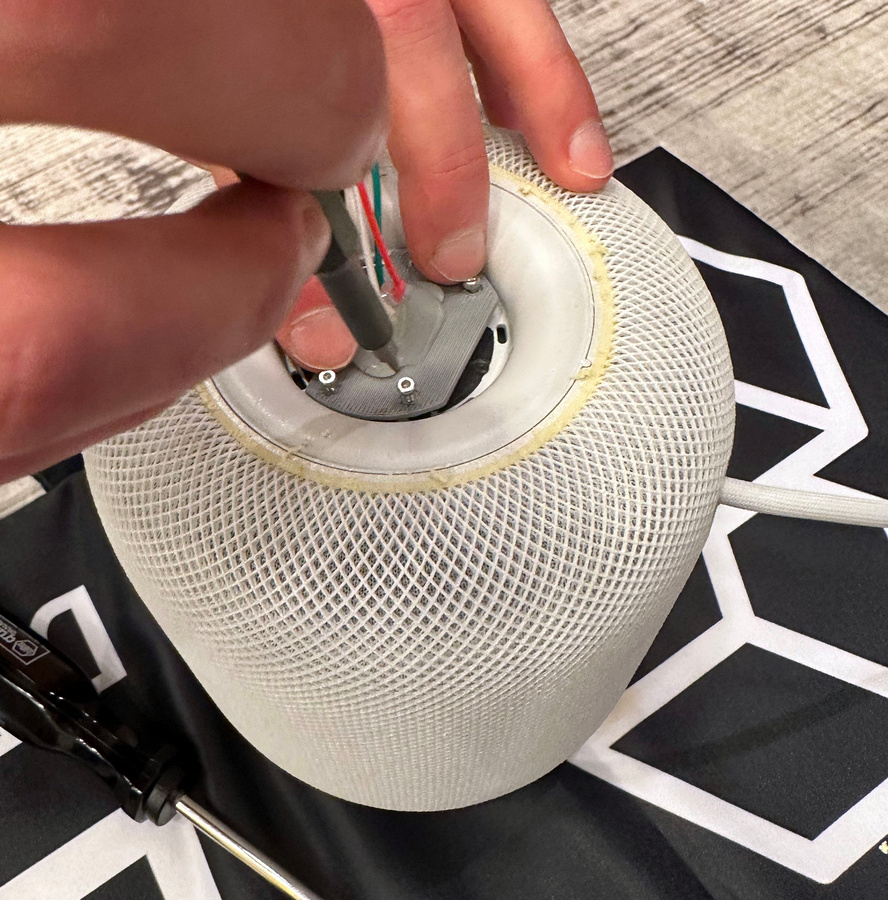
The seated adapter looks like this:
Connect the wires to the USB breakout cable:
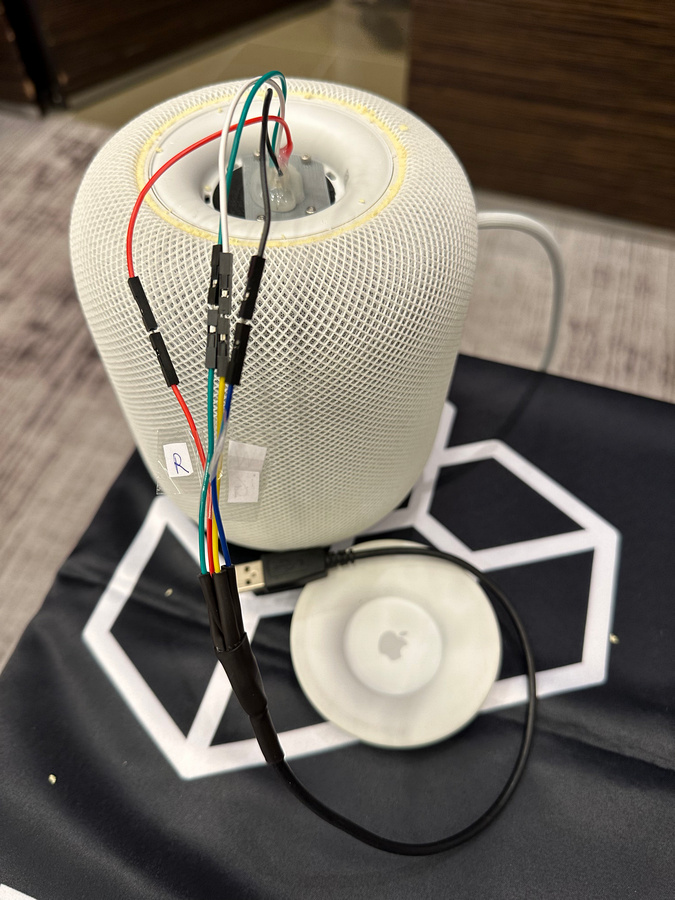
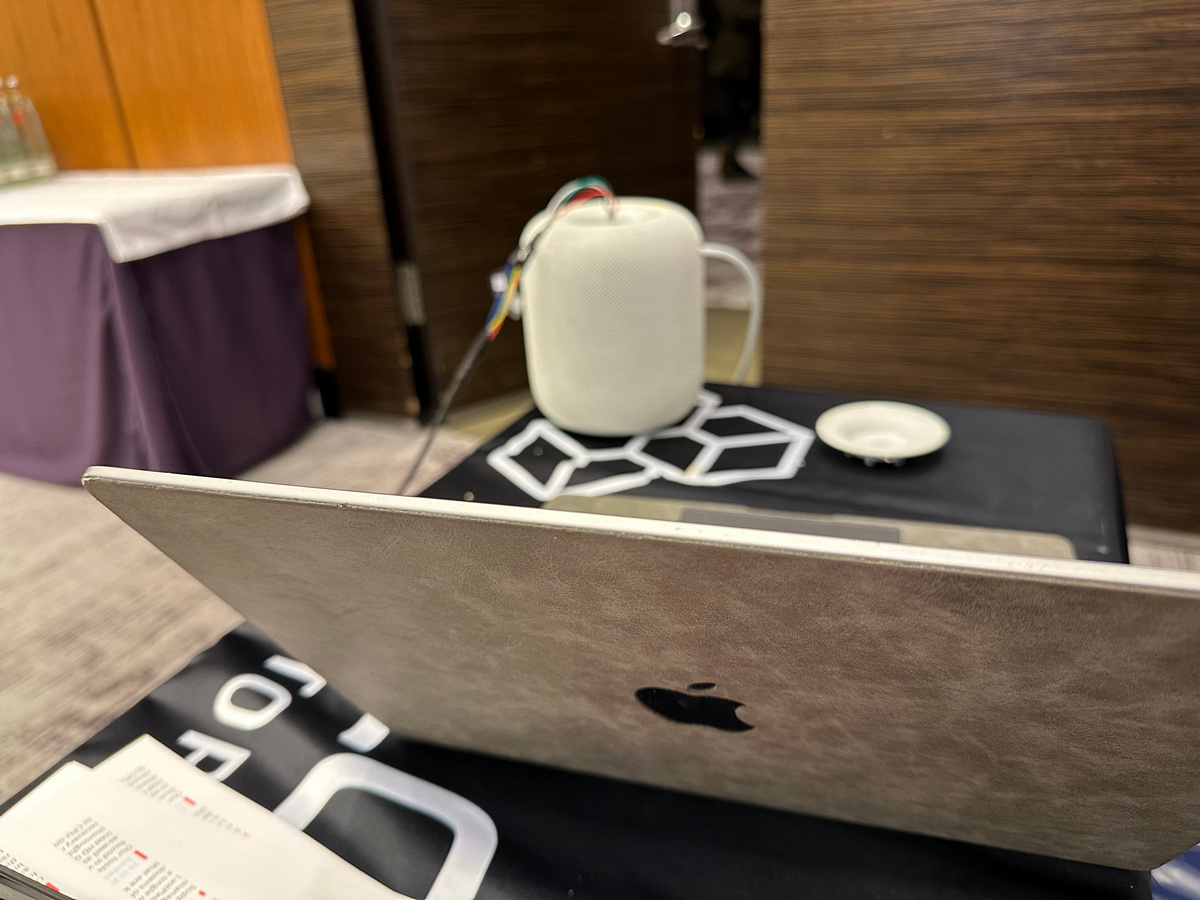
Finally, connect the USB cable to the computer. If your computer only has Type-C ports, you’ll need yet another USB-A to USB-C adapter:
Conclusion
We explained how to access the hidden communication port in the first-generation HomePod. The port is located under the bottom lid, which is glued in place, and requires heating and peeling to remove it. Once the lid is removed, the diagnostic port is visible, which is a combination USB/UART port. We’ve provided instructions for creating a simple 3D-printable adapter to connect to the pins and access the USB port. At this point, you’ve successfully pwned the HomePod and connected it to the computer. We’ll talk about the data in the next article.
REFERENCES:

Elcomsoft iOS Forensic Toolkit
Extract critical evidence from Apple iOS devices in real time. Gain access to phone secrets including passwords and encryption keys, and decrypt the file system image with or without the original passcode. Physical and logical acquisition options for all 64-bit devices running all versions of iOS.
Elcomsoft iOS Forensic Toolkit official web page & downloads »

- iOS Forensic Toolkit 10.10 adds pairing-free sideloading of the extraction agent24 June, 2026
- Elcomsoft Phone Breaker 11.2: downloads iOS 26 iCloud backups18 June, 2026
- Elcomsoft Phone Breaker 11.1: reliable iCloud backup extraction26 May, 2026
- ElcomSoft Phone Breaker 11: full overhaul of iCloud extraction30 April, 2026
- iOS Forensic Toolkit 10.02 adds agent-based extraction for iOS 2629 April, 2026