Low-Level Extraction for iOS 17 and 18
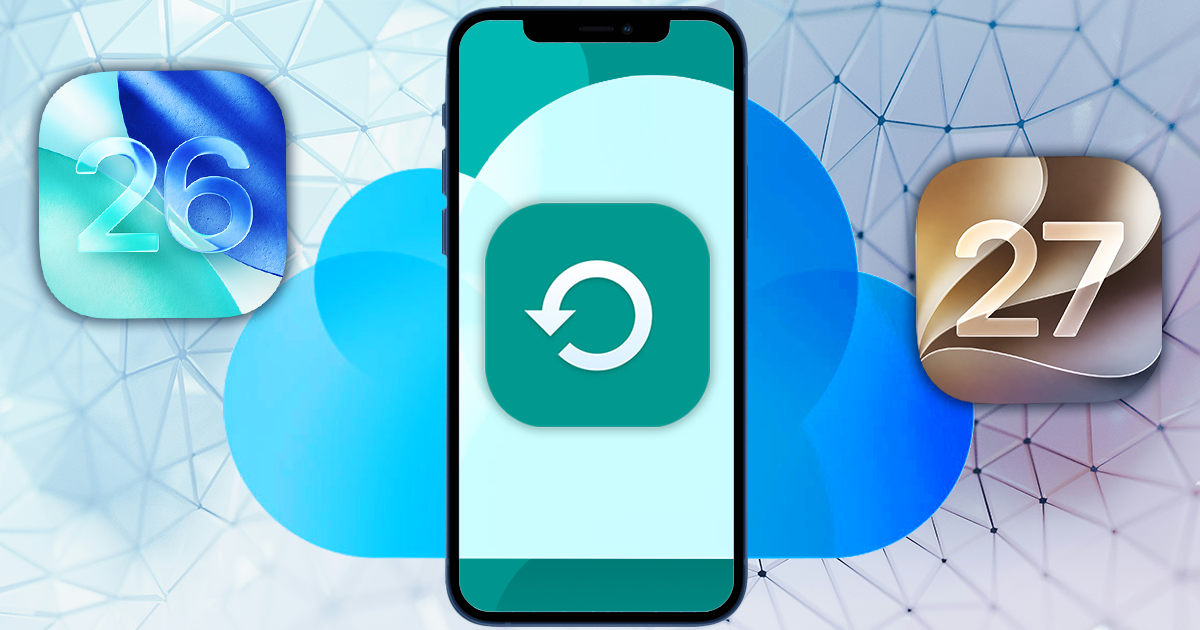
April 14th, 2026 by Oleg AfoninWe’ve just updated iOS Forensic Toolkit to version 10.0, significantly expanding its low-level extraction capabilities for both the extraction agent and bootloader-based methods. Previously, agent-based extraction was capped at iOS 16.6.1. This release finally covers the remainder of the iOS 16 branch, and adds support for the entire iOS 17 branch as well as iOS 18 through 18.7.1. We have also expanded checkm8 support to cover all the latest OS updates pushed by Apple on devices susceptible to the exploit. Finally, we improved extended logical acquisition support for iOS/iPadOS 26, now pulling significantly more shared data than before.
Perfect Acquisition: The True Physical Acquisition
February 16th, 2026 by Vladimir KatalovThe release of the checkm8 exploit was a breakthrough for mobile forensics, finally granting investigators verifiable access to the file systems of various Apple devices. This accessibility established the current “gold standard” for extraction: using the bootloader exploit to access the file system and dump it into a simple tar archive. While convenient, a tar archive is merely a logical copy, not a physical one. It may fail to capture the device’s true state, missing certain low-level nuances. Truth be told, these nuances are rarely relevant to real investigations, but why settle for less when a better method is available? More importantly, this approach avoids the “teething problems” of traditional bootloader extraction – such as the mishandling of large sparse files – that continue to plague even the largest forensic vendors.
Perfect Acquisition With Passcode Unlock for A8/A8X Devices
February 11th, 2026 by Elcomsoft R&DPerfect Acquisition is the most reliable method to acquire data from an iOS device. It is completely forensically sound – it doesn’t modify a single bit of the filesystem. When supported, this method should always be used over alternatives. This guide outlines the entire process, from acquiring the data dump to decrypting and mounting it for analysis.
Big news is coming – and this time, it’s from the living room. Our team has successfully extracted a complete file system image from an Apple TV 4K running tvOS 26. This marks the first-ever low-level extraction of Apple’s 26th-generation operating systems, including iOS 26, iPadOS 26, and tvOS 26. No one – not even the major forensic players! – has been able to achieve this before.
The latest update to iOS Forensic Toolkit brought bootloader-level extraction to a bunch of old iPads, Apple TVs, and even the first-gen HomePod running OS versions 17 and 18. This enabled full file system and keychain extraction on a those older Apple devices that can still run these versions of the OS.
Elcomsoft Forensic Acquisition System (EFAS)
May 2nd, 2024 by Elcomsoft R&DForensic acquisition using Elcomsoft iOS Forensic Toolkit (EIFT) has undergone significant changes over the last few years. The earlier major branch, EIFT 7, was a carefully crafted but Windows-only script that automated the use of several bundled tools and guided the user without requiring them to know how to use each of them individually. EIFT 8 brought many new features, a more powerful interface and widespread support for new devices and host operating systems. Due to restrictions and challenges, not all features were immediately available on all platforms. There are still some minor differences in features between Windows, Linux, and macOS versions of the tool.
The Implications of Resetting the Screen Lock Passcode in iOS Forensics
April 30th, 2024 by Oleg AfoninIn the realm of iOS device forensics, the use of the checkm8 exploit for low-level extractions has become a common practice. However, when using this method, you may occasionally need to remove the device’s screen lock passcode, which can lead to several undesirable consequences. In this article, we’ll study these consequences and learn when you need a screen lock reset, when it can be avoided, and how what the latest iOS Forensic Toolkit has to do with it.
checkm8: Advancements in iOS 16 Forensic Extraction
March 15th, 2024 by Elcomsoft R&DIn iOS device forensics, the process of low-level extraction plays a crucial role in accessing essential data for analysis. Bootloader-level extraction through checkm8 has consistently been the best and most forensically sound method for devices with a bootloader vulnerability. But even though we brought the best extraction method to Linux and Windows in recent releases, support for iOS 16 on these platforms was still lacking behind. In this article we’ll talk about the complexities in iOS 16 extractions and how we worked around them in the newest release of iOS Forensic Toolkit.
iOS Forensic Toolkit: Exploring the Linux Edition
November 30th, 2023 by Oleg AfoninThe latest update of iOS Forensic Toolkit brought an all-new Linux edition, opening up a world of possibilities in mobile device analysis. The highly anticipated Linux edition preserves and expands the features previously available to macOS and Windows users. Forensic professionals can now perform advanced logical and low-level extractions with the aid of a custom extraction agent and extract information using the bootloader-level exploit, making forensic analysis more accessible on Linux platforms.
Using and Troubleshooting the checkm8 Exploit
October 31st, 2023 by Oleg AfoninThe bootloader vulnerability affecting several generations of Apple devices opens the door to forensically sound extraction. In today’s article we’ll discuss the compatibility and features of this exploit with different devices, iOS versions, and platforms. In addition, we’ll provide security professionals and researchers with valuable insight into potential issues and solutions when working with checkm8.


- Elcomsoft Phone Breaker 11.2: downloads iOS 26 iCloud backups18 June, 2026
- Elcomsoft Phone Breaker 11.1: reliable iCloud backup extraction26 May, 2026
- ElcomSoft Phone Breaker 11: full overhaul of iCloud extraction30 April, 2026
- iOS Forensic Toolkit 10.02 adds agent-based extraction for iOS 2629 April, 2026
- Elcomsoft Quick Triage receives a major update28 April, 2026