iPhone X, DFU mode and checkm8
February 3rd, 2022 by Vladimir KatalovCategory: «Mobile», «Tips & Tricks»
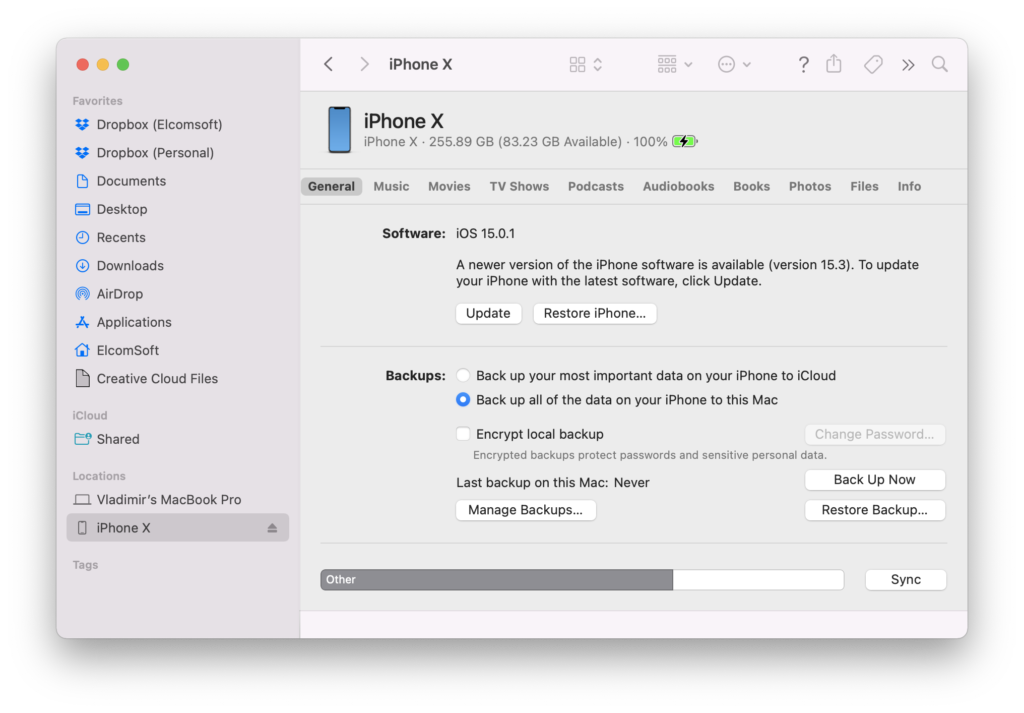
In order to use the checkm8-based acquisition, the device must be placed into DFU (Device Firmware Update) mode first, and this is the trickiest part of the process. There is no software way to enter DFU, so you have to do it manually. This article describes how to do it properly for the iPhone 8, iPhone 8 Plus and iPhone X that are now supported by Elcomsoft iOS Forensic Toolkit.
We have compiled a comprehensive manual on DFU last year, see DFU Mode Cheat Sheet. For devices based on the A11 and newer SoC, the steps are:
- Connect the device to a computer using a USB cable.
- Quick-press the Volume Up button
- Quick-press the Volume Down button
- Hold down the Side button until the screen goes black, then hold down both the Side button and Volume Down button.
- After 5 seconds, release the Side button while continuing to hold down the Volume Down button.
- If the Apple logo appears, the Side button was held down for too long.
- Nothing will be displayed on the screen when the device is in DFU mode. If open, iTunes will alert you that a device was detected in recovery mode.
- If your device shows a screen telling you to connect the device to iTunes, retry these steps
Not rocket science (although you should be careful with timings), and past some trial and error you will do that with your eyes closed. But there is a problem: it appears that there might be two slightly different DFU modes, and if the device enters the wrong one, the checkm8 exploit will most probably fail (the device will be rebooted). Even worse, there is absolutely no way to distinguish between these two modes.
There are also some good news. If you enter into Recovery mode first, and then into DFU, you are likely getting the right DFU.
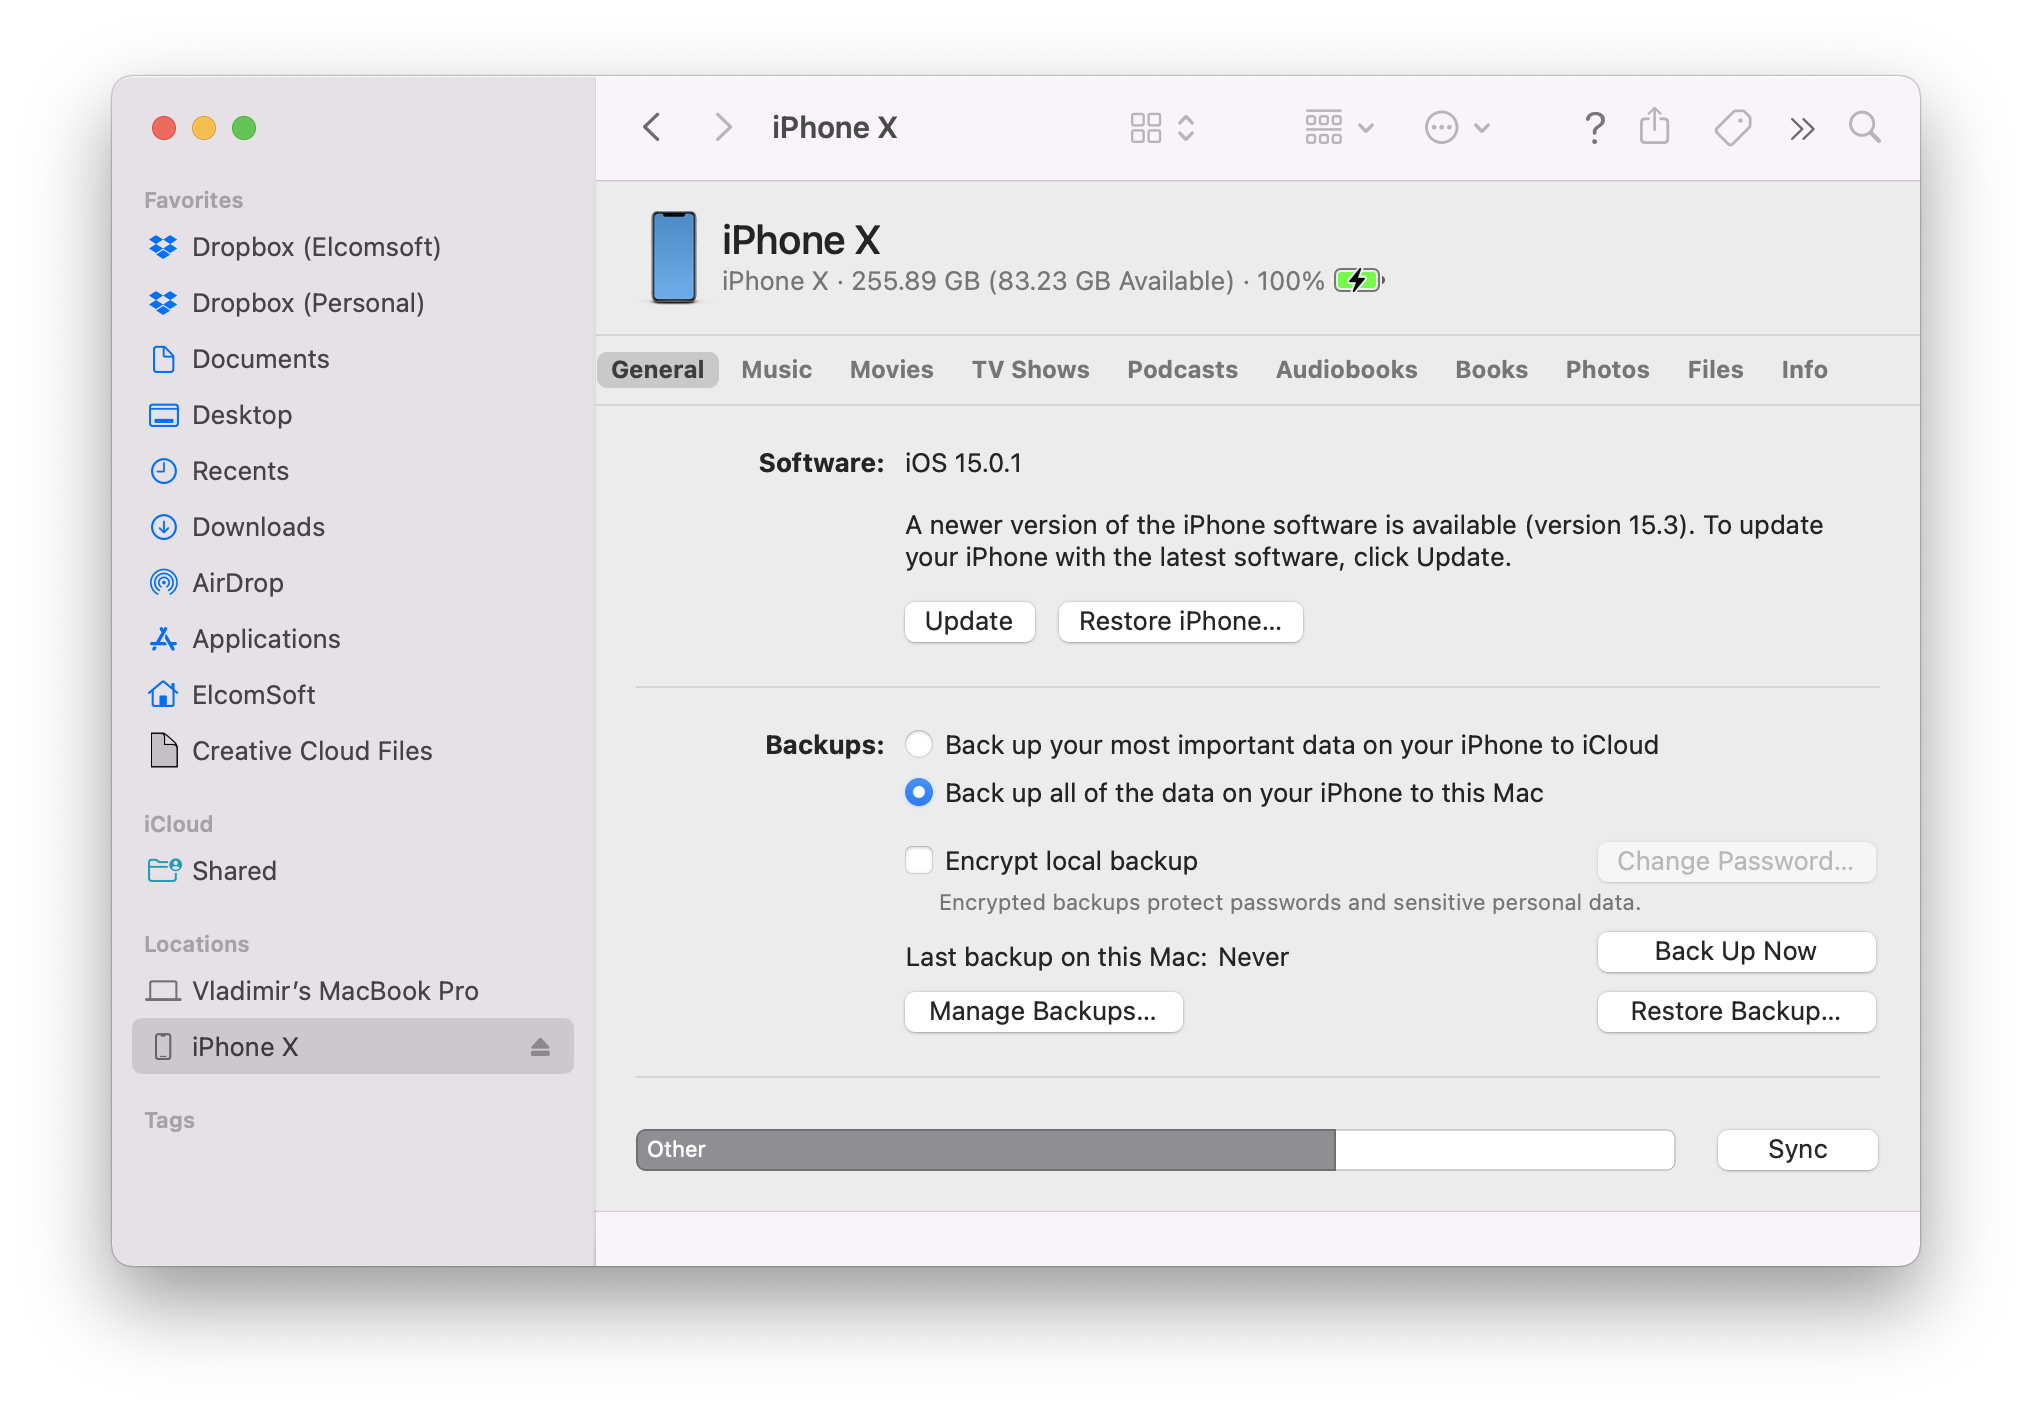
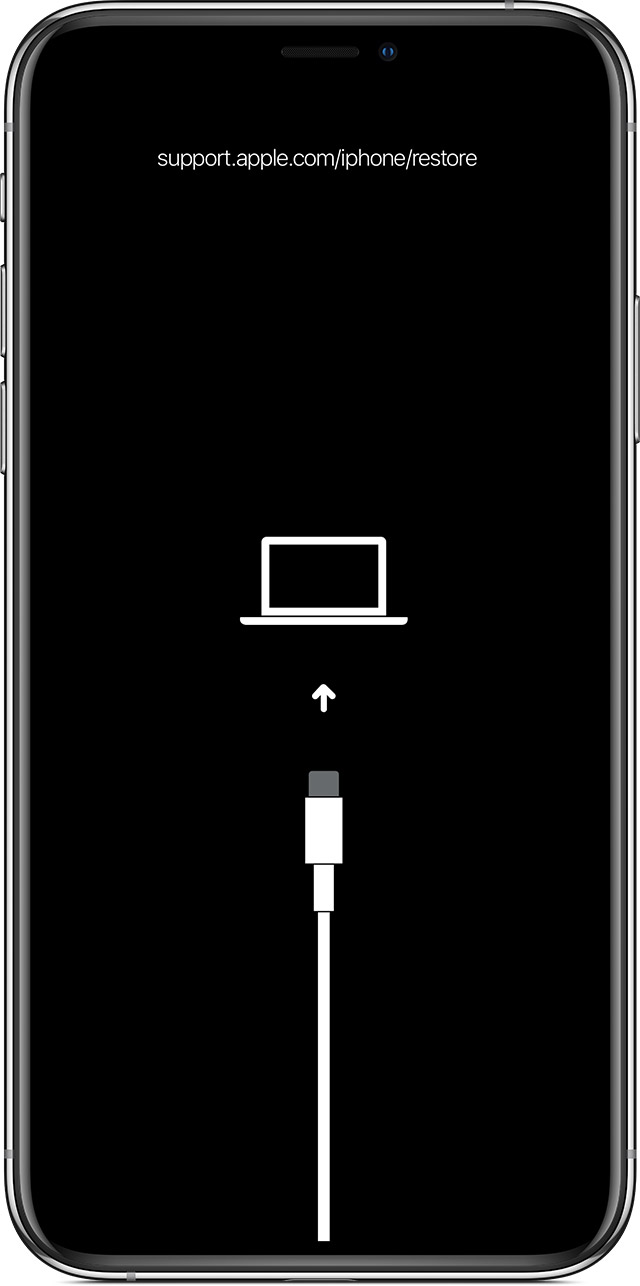
Entering Recovery is relatively simple. Connect the iPhone to the computer (remember about the USB-A cable):
Press and quickly release the Volume Up button. Press and quickly release the Volume Down button. Then, press and hold the Side button until you see the “connect to iTunes” screen.

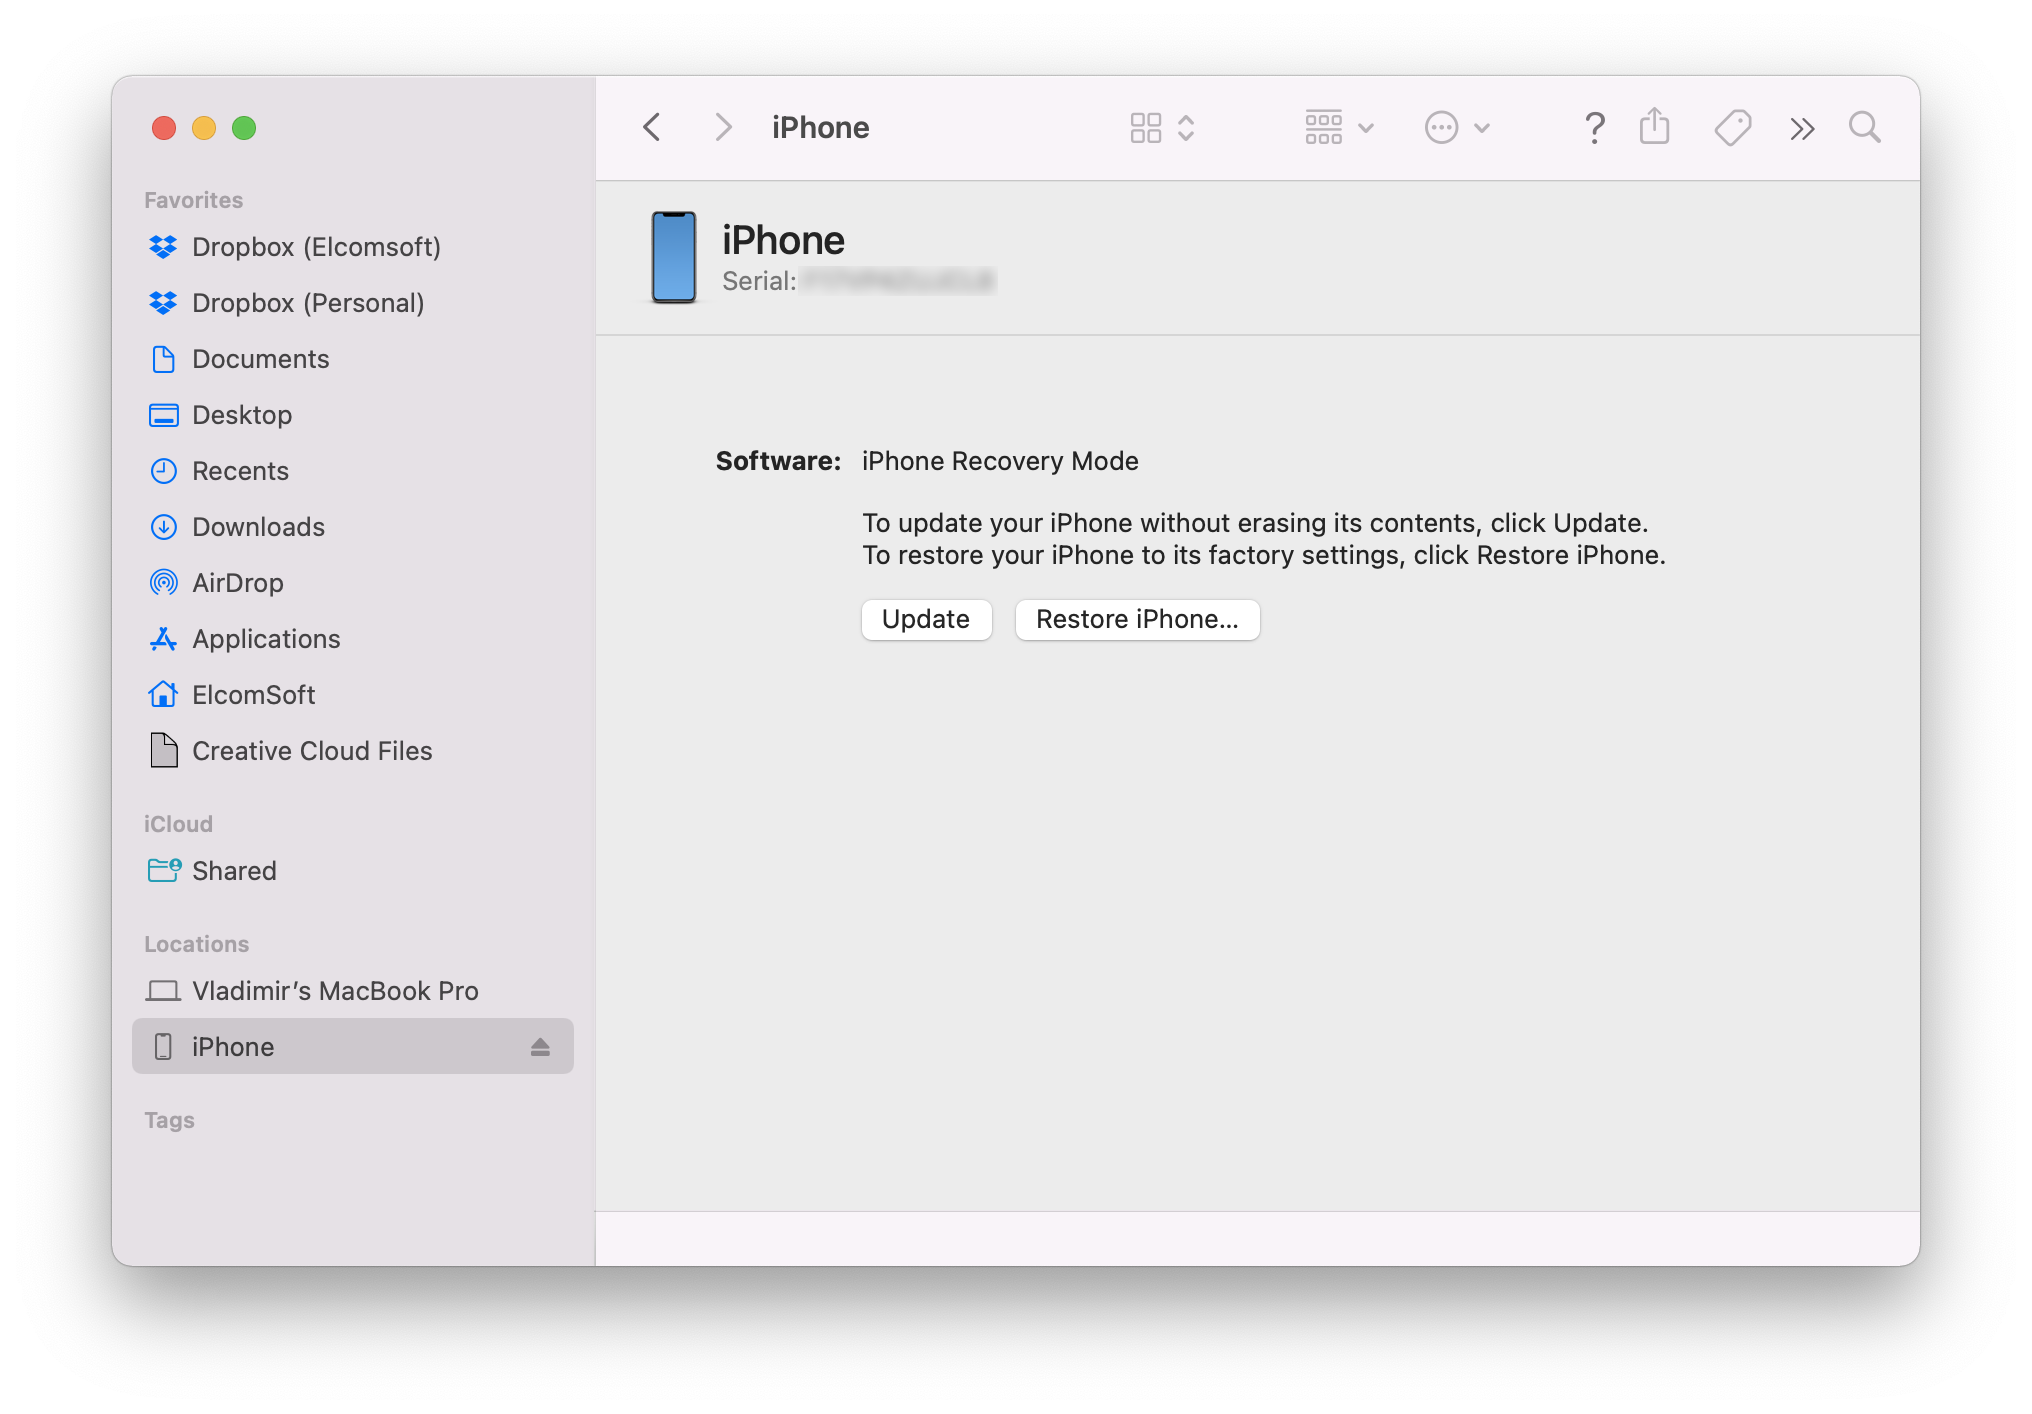
In Finder, the device now appears like this:
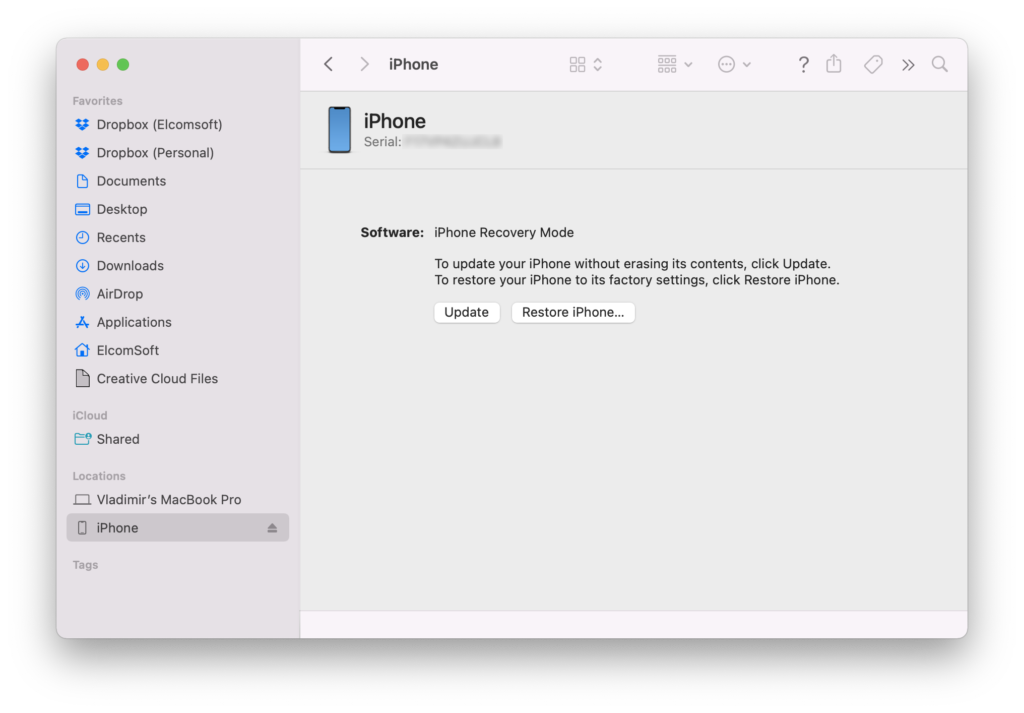
Now it’s time to enter DFU. Press and quickly release the Volume Up button. Press and quickly release the Volume Down button. Then, press and hold the Side button until the iPhone device is disconnected (disappears from Finder), then press the Volume Down button (keeping the Side button pressed). After 3 seconds, release the Side button while continuing to hold down the Volume Down button, until Finder again recognizes the device.
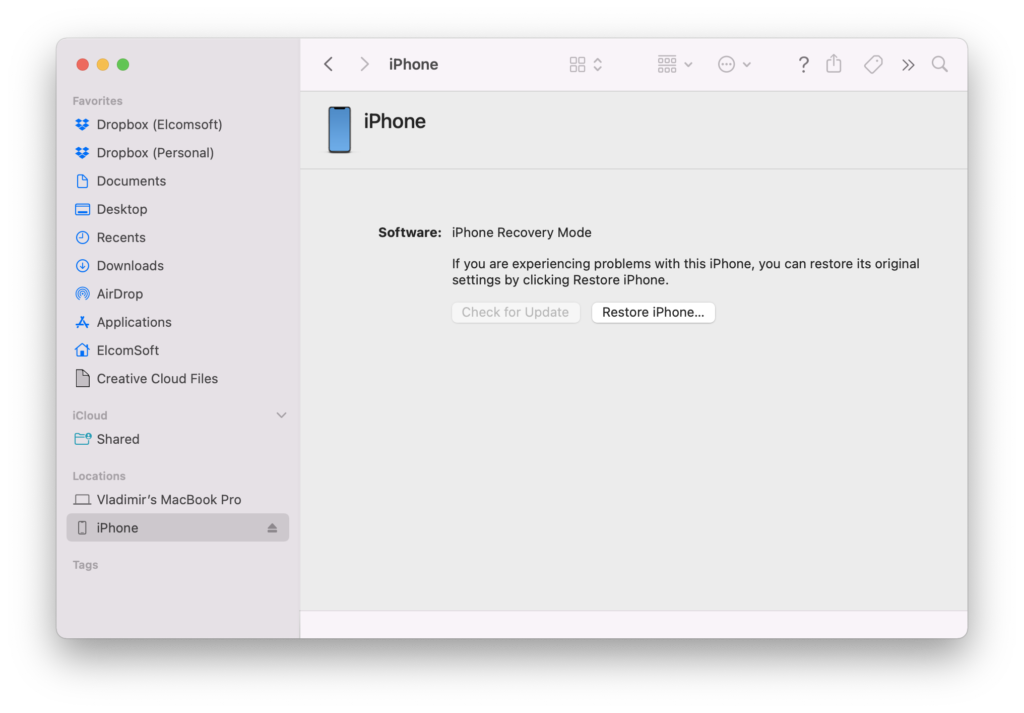
That’s it, now you can proceed with Elcomsoft iOS Forensic Toolkit!
REFERENCES:

Elcomsoft iOS Forensic Toolkit
Extract critical evidence from Apple iOS devices in real time. Gain access to phone secrets including passwords and encryption keys, and decrypt the file system image with or without the original passcode. Physical and logical acquisition options for all 64-bit devices running all versions of iOS.
Elcomsoft iOS Forensic Toolkit official web page & downloads »


- Elcomsoft Phone Breaker 11.03: universal binary for Macs, SMS two-factor authentication restored16 July, 2026
- iOS Forensic Toolkit 10.10 adds pairing-free sideloading of the extraction agent24 June, 2026
- Elcomsoft Phone Breaker 11.2: downloads iOS 26 iCloud backups18 June, 2026
- Elcomsoft Phone Breaker 11.1: reliable iCloud backup extraction26 May, 2026
- ElcomSoft Phone Breaker 11: full overhaul of iCloud extraction30 April, 2026