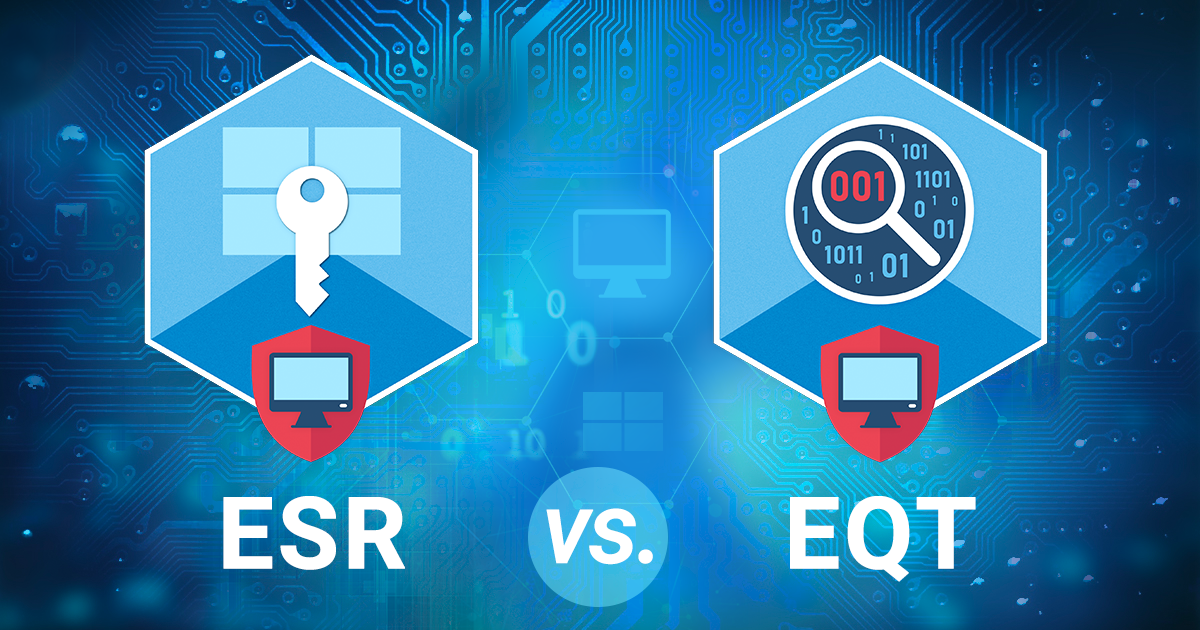
We’re expanding our product line with a new tool: Elcomsoft Quick Triage. With this release, we are expanding into an area we had not previously covered – digital forensic triage. EQT is designed to address a very specific need that arises at the earliest stages of an investigation, when time is limited and quick decisions matter. The new tool is not intended to replace full-featured forensic platforms or in-depth analysis. Instead, it focuses on a different phase of the workflow: fast identification, collection, and review of the most relevant evidence before committing resources to a complete examination.
Big news is coming – and this time, it’s from the living room. Our team has successfully extracted a complete file system image from an Apple TV 4K running tvOS 26. This marks the first-ever low-level extraction of Apple’s 26th-generation operating systems, including iOS 26, iPadOS 26, and tvOS 26. No one – not even the major forensic players! – has been able to achieve this before.
Our customers often ask us which exact iOS versions are supported by iOS Forensic Toolkit. There’s always a temptation to answer “all of them,” and while that answer is technically correct, there are a lot of caveats. The devil is in the details, and the real answer depends on what you mean by “support”.
During the recent investigation into the October 2025 Louvre Museum heist, it was revealed that parts of the museum’s video surveillance network were protected by the default password “Louvre.” Further reporting indicated that sections of the system operated on Windows Server 2003 and relied on outdated surveillance management software. These findings point to long-term neglect of basic cybersecurity practices – specifically, the continued use of obsolete systems and weak authentication measures.
The latest update to iOS Forensic Toolkit brought bootloader-level extraction to a bunch of old iPads, Apple TVs, and even the first-gen HomePod running OS versions 17 and 18. This enabled full file system and keychain extraction on a those older Apple devices that can still run these versions of the OS.
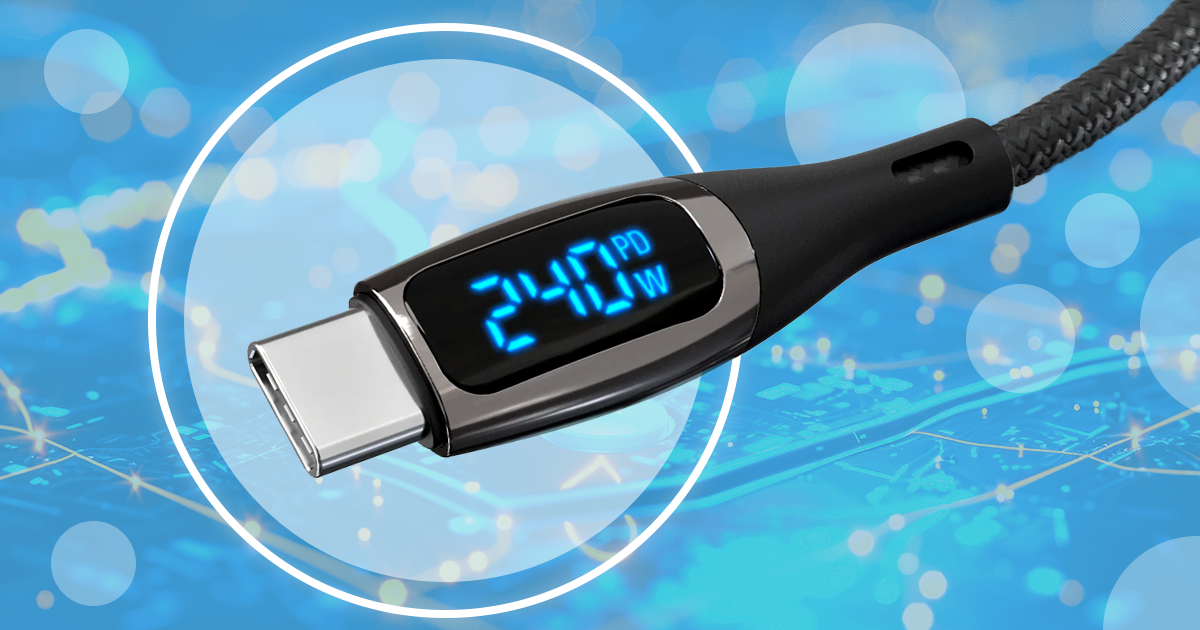
As we outlined in the previous article (Effective Disk Imaging: Ports, Hubs, and Power), it’s better to connect external USB-C devices (such as adapters and especially write-blockers) to a USB-C port that complies with at least the USB 3.2 Gen2 specs (10 Gbit/s). But what if your computer only has USB-A ports, or only a USB-A port is free? Obviously, you’ll need a USB-C to USB-A cable – but you’ll need to choose the right one very carefully, and that’s not the only thing that matters.
Some time ago, we tested NVMe disk imaging performance (see When Speed Matters: Imaging Fast NVMe Drives), focusing mainly on software. This time, we turned our attention to hardware connections: which ports deliver the best results, and whether using a USB hub, active or passive, affects imaging speed and reliability.
Perfect Acquisition is the most sophisticated method for extracting data from compatible iOS devices. This method is completely forensically sound; it doesn’t modify a single bit of the filesystem. When supported, this method should always be used over alternatives. This guide outlines the entire process, from acquiring the data dump to decrypting and mounting it for analysis. Note: this guide applies to iOS Forensic Toolkit 8.80 and newer, in which the process has been made easier to use.
Since its introduction with the iPhone X in 2017, Apple’s Face ID has become one of the most widely used biometric authentication systems in the world, often praised for its convenience and technological sophistication. Yet, like any system that relies on human biology, it has its share of limitations: reports of identical twins, close relatives or young children occasionally unlocking a parent’s device have circulated since its debut.


