Automating Scrolling Screenshots with Raspberry Pi Pico
April 13th, 2023 by Oleg AfoninCategory: «Elcomsoft News», «Mobile», «Tips & Tricks»
The recent update to iOS Forensic Toolkit brought two automations based on the Raspberry Pi Pico board. One of the new automations makes it possible to make long, scrollable screen shots in a semi-automatic fashion. In this article we will show how to build, program, and use a Raspberry Pi Pico board to automate scrolling screenshots.
Scrollable screenshots
Capturing screenshots can be a crucial step in mobile device investigations. By taking a series of screenshots of what is displayed on a connected iOS device, investigators can gather digital evidence that may not be accessible through other means, such as advanced logical acquisition, where the data such as protected chat histories may not be available. In a way, the new feature can be viewed as new extraction tool in addition to cloud, advanced logical, and low-level extraction methods.
Using a Raspberry Pi board, one can also make long, scrollable screen shots in a semi-automatic fashion. Available for all devices and most versions of iOS, the experimental new feature also makes use of a Raspberry Pi Pico device with custom, ElcomSoft-developed software that is now included with iOS Forensic Toolkit. The feature is available for most iOS/iPadOS devices staring with iOS 14.
Capturing scrollable screenshots with a Raspberry Pi Pico
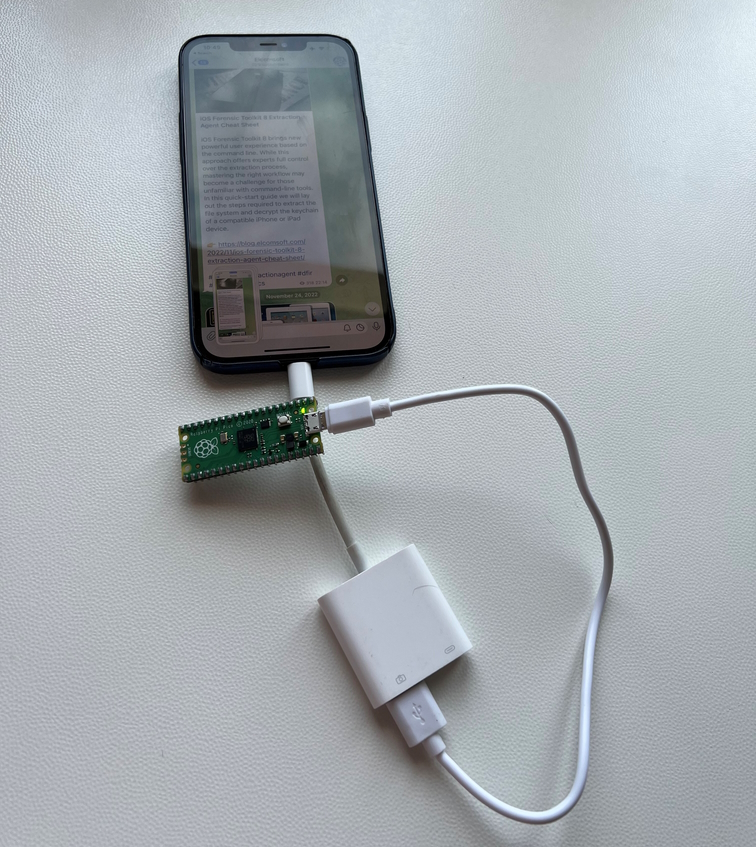
Compared to the auto-DFU process, you will only need a few things other than the iPhone or iPad itself.
- A Raspberry Pi Pico board
- Lightning to USB (the official Apple Camera Adapter is recommended)
- USB-A to micro-USB cable (to upload firmware, and to connect the iPhone to the Pico via the Lightning to USB adapter)
- USB mouse with a scroller (optional)
To capture scrolling screenshots, do the following.
- Flash your Raspberry Pi Pico
- Press and hold BOOTSEL button on a Pico
- Connect the USB cable to your computer
- Copy the .uf2 file onto the newly detected drive called RPI-RP2
- The drive will re-attach with the new name CIRCUITPY
- Install the code
- Delete all files on the CIRCUITPY drive
- Copy the lib directory to the CIRCUITPY drive
- Copy the code.py file to the CIRCUITPY drive
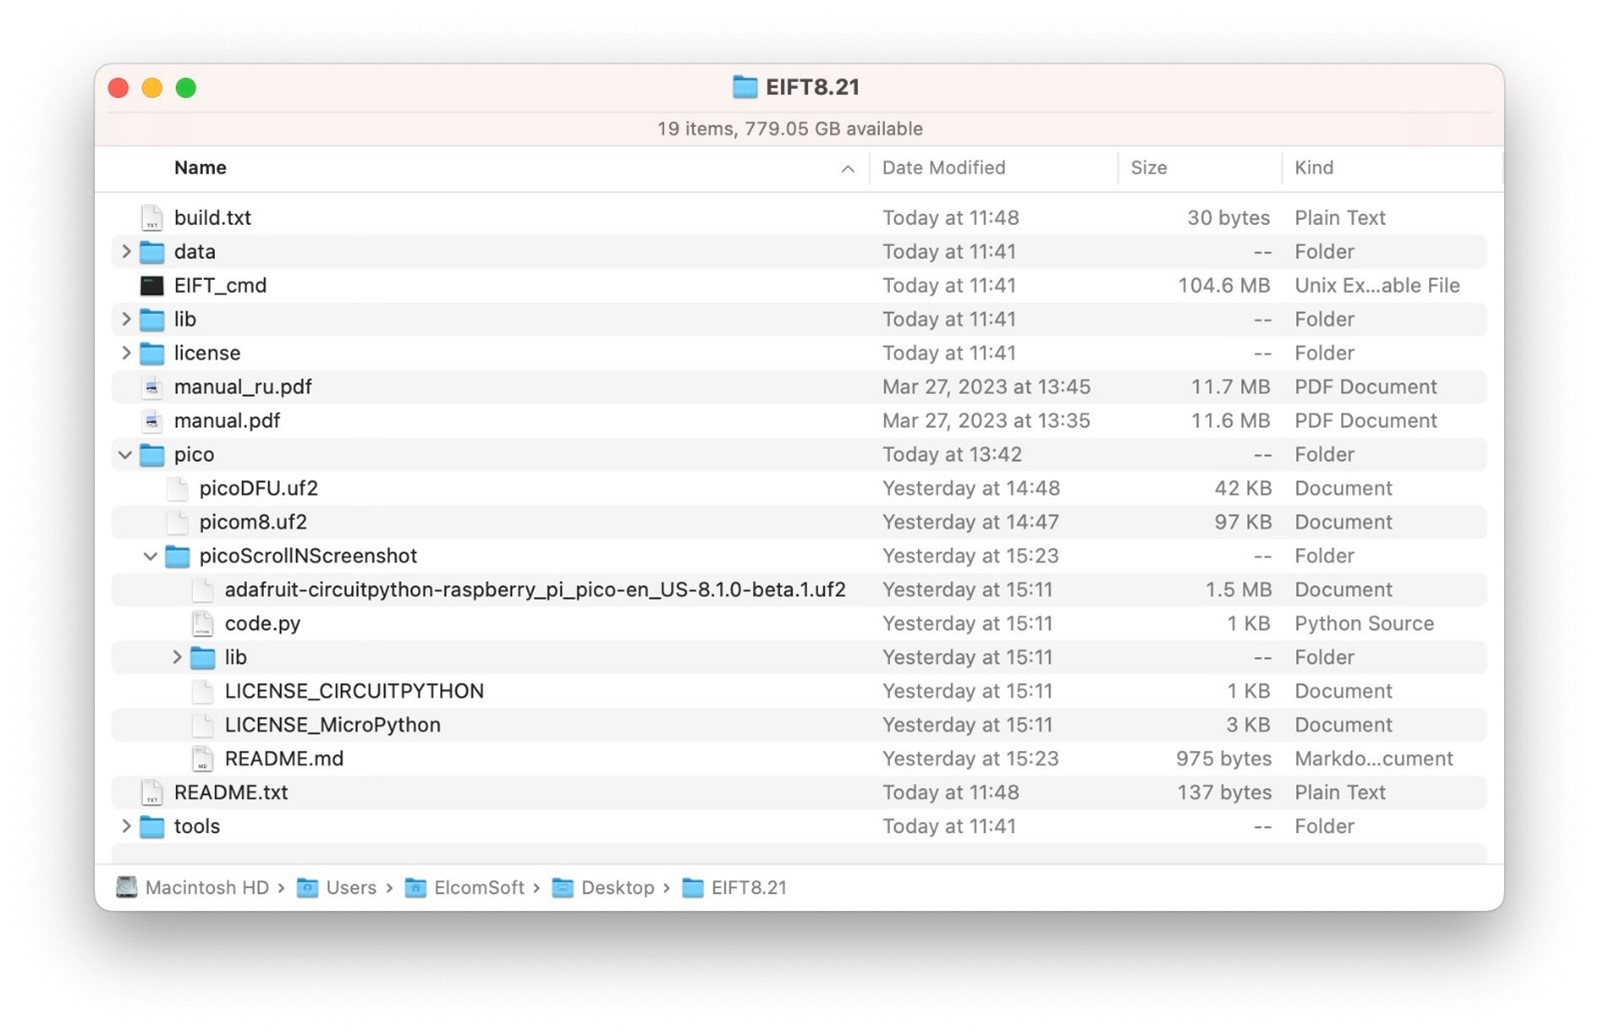
The firmware is located by the following path:
pico/picoScrollNScreenshot/adafruit-(...).uf2
The files to copy (code.py and the lib folder) are also there.
Once the files are on the Pico, do the following.
- Disconnect the Pico from the computer
- Connect the USB adapter to the iPhone
- Connect the Pico board (micro USB) to the iPhone (via the USB adapter)
- In about 15 seconds the phone will start capturing scrolling screen shots. It will keep doing so until you disconnect the iPhone from the Pico.
Extra power is not required as the Pico takes 5V from the USB plug. However, with an Apple Camera Adapter, you can use its other (Lightning) port to power up the iPhone itself to prevent it from discharging during the process.
After that, copy the screen shots to your computer (by extracting media files, doing full logical acquisition, or with AirDrop). You may want to stitch the screenshots first; there are many iOS apps for that such as Tailor.


Finally, you can OCR the screen shots, index and analyze the text.
Tips and tricks
The process does not always work out of the box. The screenshots are always captured, but the scrolling sometimes fails unless you connect a USB mouse to the iPhone first and use the wheel to scroll up and down several times.
Also, we are not absolutely sure that this method works with non-native Lightning to USB adapters. It definitely works with an official Apple’s one though.
You may also need to edit the code.py file. The critical options are:
SCROLL_WITH_MOUSE = 1
SCROLL_MOUSE_DISTANCE = 250
DELAY_AFTER_SCROLL = 1
SCROLL_WITH_MOUSE means whether to emulate a keyboard (0) or mouse (1). The first option is more robust but some apps don’t support it (e.g. Telegram).
SCROLL_MOUSE_DISTANCE is only used when mouse emulation is enabled, and specifies the scrolling range. In our tests, the default value of 250 works great if you were to stitch the screen shots, but depending on a particular device you may need to set a different value.
DELAY_AFTER_SCROLL specifies the delay between scrolling and capturing screen shots; the default value is one second, but you can set a greater delay to let delayed images and URL information load after scrolling.
Note that the default behavior of the scrolling is in the down direction. That means that you need to start the process at a top of a page or conversation you need to save.
Finally, please note that the script starts working right when any device is connected to the Pico board. That includes a Mac computer; that’s why we implemented a 15-second delay after connection (so that you have enough time to edit or delete code.py).
Last but not least, the script cannot (and will not) detect when screen shooting is done. You have to stop it manually by disconnecting the cable.
Conclusion
This feature is experimental and not yet perfect. The biggest problem is that all the screenshots are captured and stored right on the device rather than the computer. Yet this may still be the only method to extract certain types of data from some iOS applications in case the device is not vulnerable to a bootloader exploit and not supported by the acquisition agent.
REFERENCES:

Elcomsoft iOS Forensic Toolkit
Extract critical evidence from Apple iOS devices in real time. Gain access to phone secrets including passwords and encryption keys, and decrypt the file system image with or without the original passcode. Physical and logical acquisition options for all 64-bit devices running all versions of iOS.
Elcomsoft iOS Forensic Toolkit official web page & downloads »

- iOS Forensic Toolkit 10.10 adds pairing-free sideloading of the extraction agent24 June, 2026
- Elcomsoft Phone Breaker 11.2: downloads iOS 26 iCloud backups18 June, 2026
- Elcomsoft Phone Breaker 11.1: reliable iCloud backup extraction26 May, 2026
- ElcomSoft Phone Breaker 11: full overhaul of iCloud extraction30 April, 2026
- iOS Forensic Toolkit 10.02 adds agent-based extraction for iOS 2629 April, 2026