All You Wanted To Know About iOS Backups
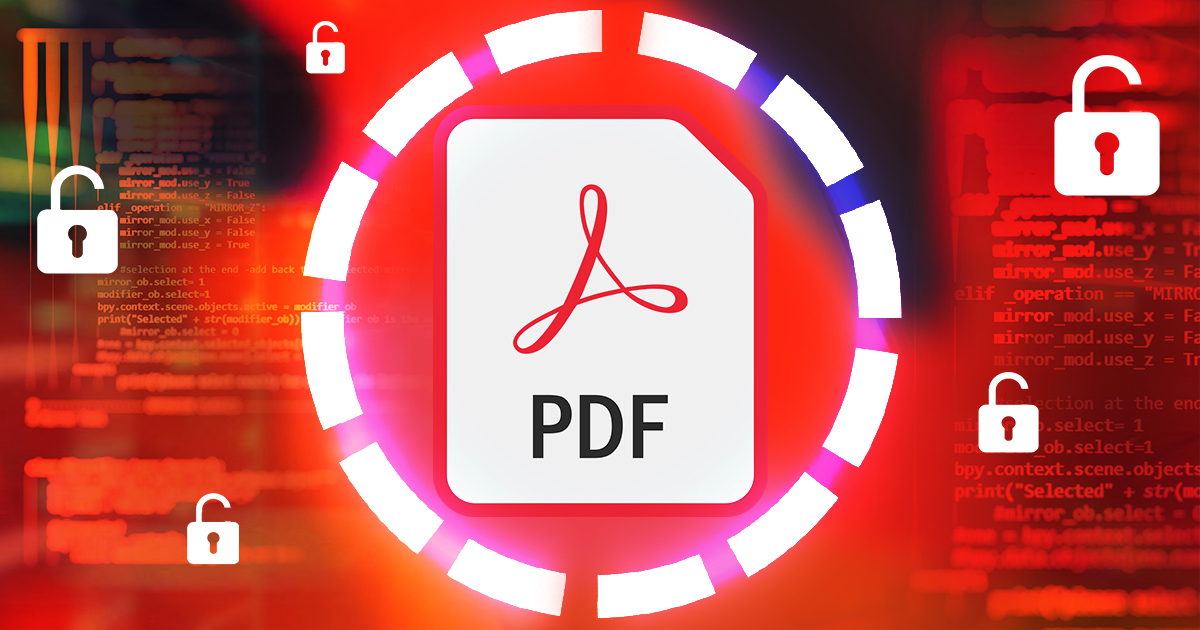
April 17th, 2024 by Oleg AfoniniOS backup passwords are a frequent topic in our blog. We published numerous articles about these passwords, and we do realize it might be hard for a reader to get a clear picture from these scattered articles. This one publication is to rule them all. We’ll talk about what these passwords are, how they affect things, how to recover them, whether they can be reset, and whether you should bother. We’ll summarize years of research and provide specific recommendations for dealing with passwords.
Automating Scrolling Screenshots with Raspberry Pi Pico
April 13th, 2023 by Oleg AfoninThe recent update to iOS Forensic Toolkit brought two automations based on the Raspberry Pi Pico board. One of the new automations makes it possible to make long, scrollable screen shots in a semi-automatic fashion. In this article we will show how to build, program, and use a Raspberry Pi Pico board to automate scrolling screenshots.
Approaching iOS Extractions: Choosing the Right Acquisition Method
November 24th, 2022 by Oleg AfoninThe extraction method or methods available for a particular iOS device depend on the device’s hardware platform and the installed version of iOS. While logical acquisition is available for all iOS and iPadOS devices, more advanced extraction methods are available for older platforms and versions of iOS. But what if more than one way to extract the data is available for a given device? In this guide, we’ll discuss the applicable acquisition methods as well as the order in which they should be used.
Advanced Logical Extraction with iOS Forensic Toolkit 8: Cheat Sheet
November 15th, 2022 by Oleg AfoninAdvanced logical acquisition is the most compatible and least complicated way to access essential evidence stored in Apple devices. In legacy versions of iOS Forensic Toolkit, we offered a 1-2-3 style, menu-driven extraction experience, while the updated release of iOS Forensic Toolkit 8.0 is driven by the command line. In this quick-start guide we will lay out the steps required to extract the most amount of data from Apple devices via the advanced logical process.
Logical Acquisition: Not as Simple as It Sounds
June 23rd, 2022 by Vladimir KatalovSpeaking of mobile devices, especially Apple’s, “logical acquisition” is probably the most misused term. Are you sure you know what it is and how to properly use it, especially if you are working in mobile forensics? Let us shed some light on it.
Filling the Gaps: iOS 14 Full File System Extracted
June 9th, 2022 by Oleg AfoniniOS Forensic Toolkit 7.40 brings gapless low-level extraction support for several iOS versions up to and including iOS 15.1 (15.1.1 on some devices), adding compatibility with previously unsupported versions of iOS 14.
iPhone Backups: Top 5 Default Passwords
December 22nd, 2020 by Vladimir KatalovThe iPhone backup is one of the hottest topics in iOS forensics. iTunes-style backups are the core of logical acquisition used by forensic specialists, containing overwhelming amounts of evidence that is is unrivaled on other platforms. The backups, as simple as they seem, have many “ifs” and “buts”, especially when it comes to password protection. We wrote a thousand and one articles about iOS backup passwords, but there is always something fresh that comes out. Today we have some new tips for you.
The Issue of Trust: Untrusting Connected Devices from Your iPhone
September 29th, 2020 by Oleg AfoninWhen connecting an iPhone to a computer for the first time, you’ll see the prompt asking you whether to trust the computer. Trusting a computer enables your phone and computer to exchange information. However, should the trusted computer fall into the wrong hands, the pairing record from that computer could be used to pull information from your iPhone. Learn about the risks associated with pairing records and how to block unwanted connections by untrusting connected computers from your iPhone.
How can you obtain the highest amount of data from an iPhone, iPad, Apple TV or Apple Watch? This is not as simple as it may seem. Multiple overlapping extraction methods exist, and some of them are limited to specific versions of the OS. Let’s go through them and summarize their availability and benefits.
iOS Acquisition Reloaded
May 12th, 2020 by Vladimir KatalovThe new build of iOS Forensic Toolkit is out. This time around, most of the changes are “internal” and do not add much functionality, but there is a lot going on behind the scenes. In this article, we will describe in details what is new and important, and how it’s going to affect you. We’ll share some tips on how to use the software in the most effective way, making sure that you extract all the data from iOS devices in the most forensically sound possible.


- Elcomsoft Phone Breaker 11.03: universal binary for Macs, SMS two-factor authentication restored16 July, 2026
- iOS Forensic Toolkit 10.10 adds pairing-free sideloading of the extraction agent24 June, 2026
- Elcomsoft Phone Breaker 11.2: downloads iOS 26 iCloud backups18 June, 2026
- Elcomsoft Phone Breaker 11.1: reliable iCloud backup extraction26 May, 2026
- ElcomSoft Phone Breaker 11: full overhaul of iCloud extraction30 April, 2026