DFU (Device Firmware Update) is a special service mode available in many Apple devices for recovering corrupted devices by uploading a clean copy of the firmware. Forensic specialists use DFU during checkm8 extractions (Elcomsoft iOS Forensic Toolkit). Unlike Recovery, which serves a similar purpose, DFU operates on a lower level and is undocumented. Surprisingly, there might be more than one DFU mode, one being more reliable than the others when it comes to forensic extractions. The method described in this article works for the iPhone 8, 8 Plus and iPhone X.
Before You Begin
Before you begin, make sure you have everything to proceed. Check out our past articles on the subject including iPhone X, DFU mode and checkm8, How to Put an iOS Device with Broken Buttons in DFU Mode, and DFU Mode Cheat Sheet.
- Only use USB-A to Lightning cables; no Type-C cables!
- For better compatibility, use a hub instead of a USB-C to USB-A adapter.
- Unless you practiced before, placing an iPhone into DFU rarely succeeds on the first try. We recommend practicing the steps on a ‘safe’ device.
- The iPhone 8/X devices have two slightly different DFU modes, and only one of them can be reliably for extractions. One cannot tell between the two DFU modes, so following the correct procedure is extremely important. If the iPhone is placed into the wrong DFU mode, the exploit may fail or you may experience issues during subsequent extraction steps.
Step 1: enter Recovery
Before placing the device into DFU, we recommend entering the Recovery mode first. There are two different ways to do that depending on the iPhone’s power-on status.
If the device is powered off and not connected to a PC:
- press and immediately release Vol+;
- press and immediately release Vol-;
- press and hold Power; while holding the Power button, connect the iPhone to the computer with a Lightning cable.
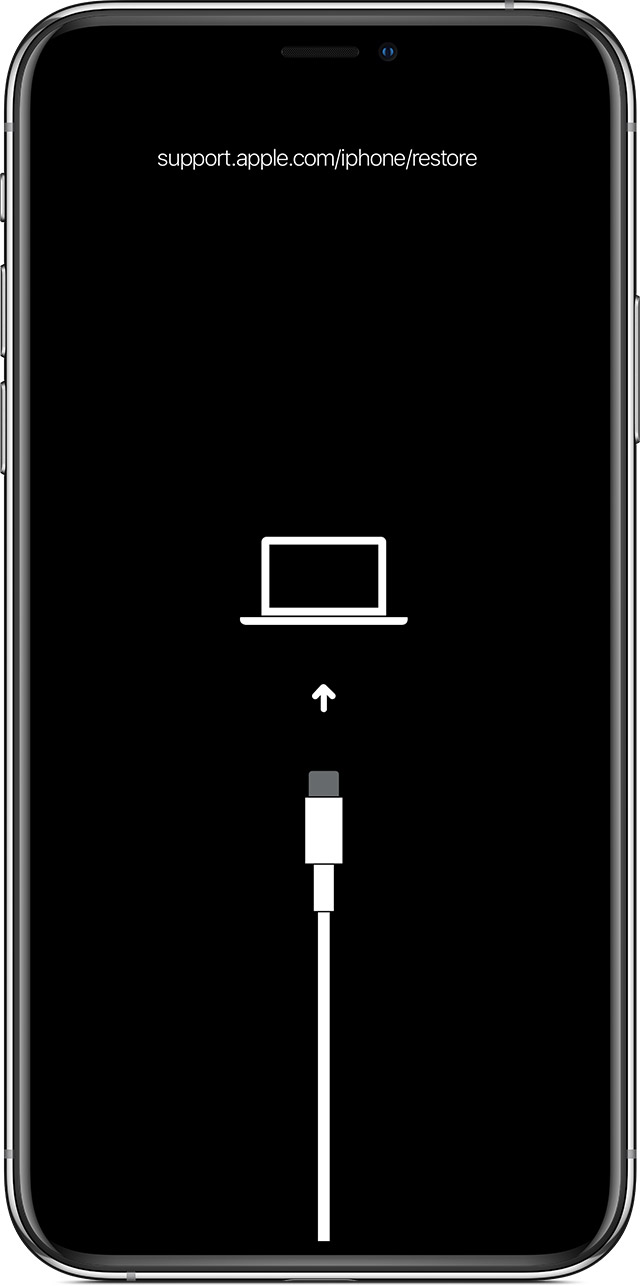
- Keep holding the Power key until you see the recovery image:

If the device is powered on and already connected to a PC:
- press and immediately release Vol+;
- press and immediately release Vol-;
- press and hold Power until you see the recovery image.
Step 2: Entering DFU
Once the iPhone is in Recovery and connected to the computer, launch iOS Forensic Toolkit with the following command:
./EIFT boot -w
On the iPhone:
- press and immediately release Vol+;
- press and immediately release Vol-;
- press and hold Power until the iPhone you see the “iPhone disconnected” message in iOS Forensic Toolkit on the computer. This message means that the iPhone has been disconnected from the computer. If you are not using iOS Forensic Toolkit, you can check Finder instead.
- Once the iPhone disconnects from the computer, keep holding the Power button and press and hold Vol-.
- Keep holding the buttons for 4 seconds, then release Power (keep holding Vol-).
- iOS Forensic Toolkit will pick up and start booting the iPhone once the device is in DFU. When this happens, release the Vol- button.
Note: if you keep holding the buttons longer than the 4 seconds, the iPhone will be rebooted instead of entering DFU.
In macOS, Finder will show the iPhone in “Recovery” more regardless of whether the device is in DFU or Recovery. However, in Recovery you will see both Update and Restore, while in DFU you will only see Restore (the Update button will be disabled).


