Physical Extraction and File System Imaging of iOS 12 Devices
February 21st, 2019 by Oleg AfoninCategory: «Elcomsoft News», «Mobile», «Software», «Tips & Tricks»
The new generation of jailbreaks has arrived for iPhones and iPads running iOS 12. Rootless jailbreaks offer experts the same low-level access to the file system as classic jailbreaks – but without their drawbacks. We’ve been closely watching the development of rootless jailbreaks, and developed full physical acquisition support (including keychain decryption) for Apple devices running iOS 12.0 through 12.1.2. Learn how to install a rootless jailbreak and how to perform physical extraction with Elcomsoft iOS Forensic Toolkit.
Jailbreaking and File System Extraction
We’ve published numerous articles on iOS jailbreaks and their connection to physical acquisition. Elcomsoft iOS Forensic Toolkit relies on public jailbreaks to gain access to the device’s file system, circumvent iOS security measures and access device secrets allowing us to decrypt the entire content of the keychain including keychain items protected with the highest protection class.
If you’re interested in jailbreaking, read our article on using iOS 11.2-11.3.1 Electra jailbreak for iPhone physical acquisition.
The Rootless Jailbreak
While iOS Forensic Toolkit does not rely public jailbreaks to circumvent the many security layers in iOS, it does not need or use those parts of it that jailbreak developers spend most of their efforts on. A classic jailbreak takes many steps that are needed to allow running third-party software and installing the Cydia store that are not required for physical extraction. Classic jailbreaks also remount the file system to gain access to the root of the file system, which again is not necessary for physical acquisition.
For iOS 12 devices, the Toolkit makes use of a different class of jailbreaks: the rootless jailbreak. Rootless jailbreak has significantly smaller footprint compared to traditional jailbreaks since it does not use or bundle the Cydia store. Unlike traditional jailbreaks, a rootless jailbreak does not remount the file system. Most importantly, a rootless jailbreak does not alter the content of the system partition, which makes it possible for the expert to remove the jailbreak after the acquisition without requiring a system restore to return the system partition to its original unmodified state. All this makes using rootless jailbreaks a significantly more forensically sound procedure compared to using classic jailbreaks.
Note: Physical acquisition of iOS 11 devices makes use of a classic (not rootless) jailbreak. More information: physical acquisition of iOS 11.4 and 11.4.1
Steps to Install rootlessJB
If you read our previous articles on jailbreaking and physical acquisition, you’ve become accustomed to the process of installing a jailbreak with Cydia Impactor. However, at this time there is no ready-made IPA file to install a rootless jailbreak in this manner. Instead, you can either compile the IPA from the source code (https://github.com/jakeajames/rootlessJB3) or follow the much simpler procedure of sideloading the jailbreak from a Web site.
To install rootlessJB, perform the following steps.
Note: rootlessJB currently supports iPhone 6s, SE, 7, 7 Plus, 8, 8 Plus, iPhone X. Support for iPhone 5s and 6 has been added but still unstable. Support for iPhone Xr, Xs and Xs Max is expected and is in development.
- On the iOS device you’re about to jailbreak open ignition.fun in Safari.

- Select rootlessJB by Jake James.
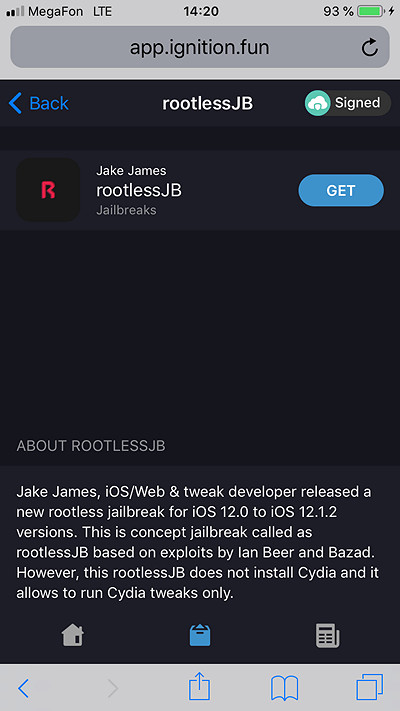
- Click Get.
- The jailbreak IPA will be sideloaded to your device.
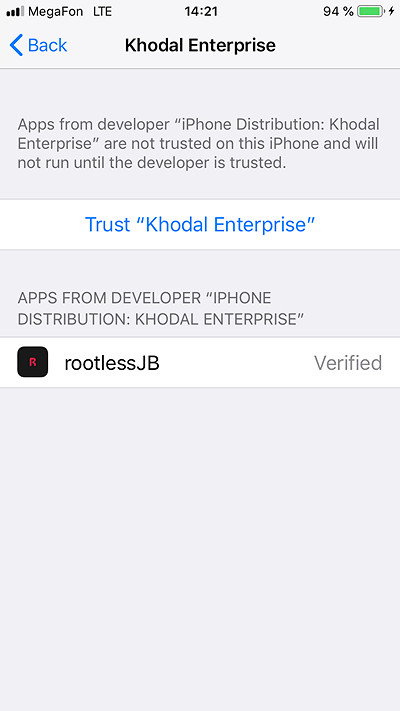
- Open the Settings app and trust the newly installed Enterprise or Developer certificate. Note: a passcode (if configured) is required to trust the certificate.

- Tap rootlessJB to launch the app.
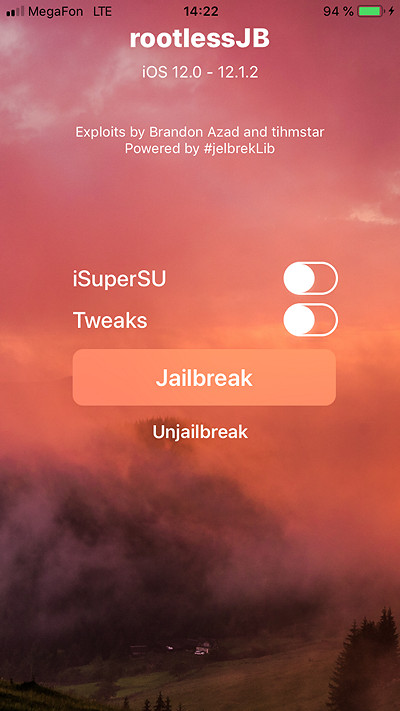
- Leave iSuperSU and Tweaks options unchecked and tap the “Jailbreak” button.
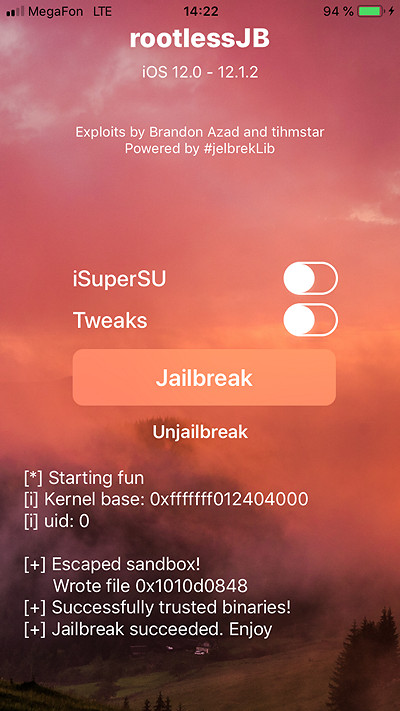
- You now have unrestricted access to the file system.

Imaging the File System
In order to extract data from an Apple device running iOS 12, you will need iOS Forensic Toolkit 5.0 or newer. You must install a jailbreak prior to extraction.
- Launch iOS Forensic Toolkit by invoking the “Toolkit-JB” command.
- Connect the iPhone to the computer using the Lightning cable. If you are able to unlock the iPhone, pair the device by confirming the “Trust this computer?” prompt and entering device passcode. If you cannot perform the pairing, you will be unable to perform physical acquisition.
- You will be prompted to specify the SSH port number. By default, the port number 22 can be specified by simply pressing Enter.
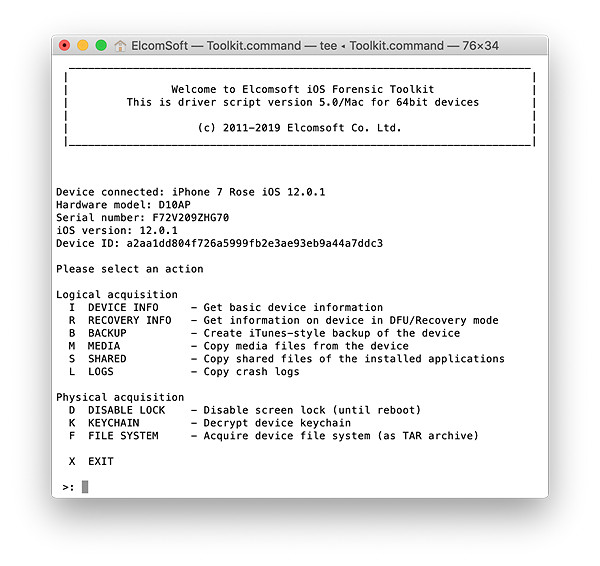
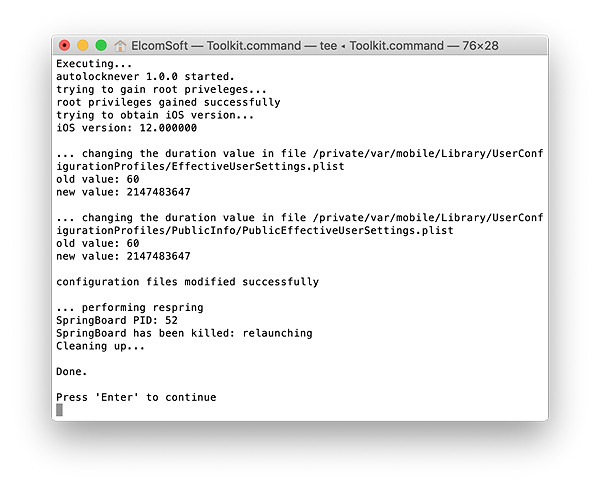
- From the main window, enter the “D” (DISABLE LOCK) command. This is required in order to access protected parts of the file system.

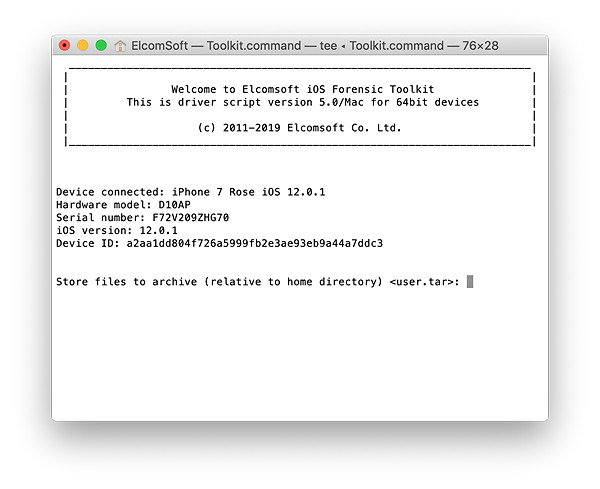
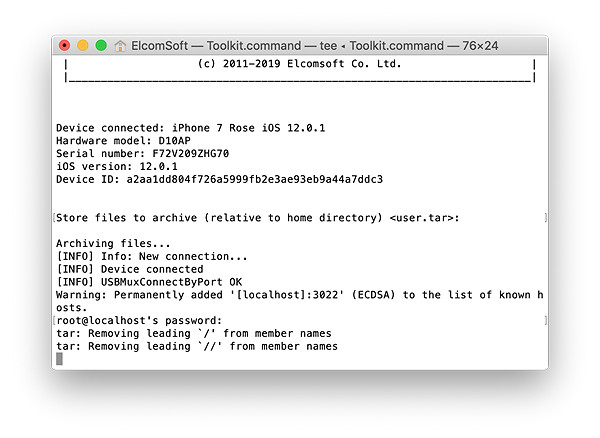
- From the main window, enter the “F” (FILE SYSTEM) command.
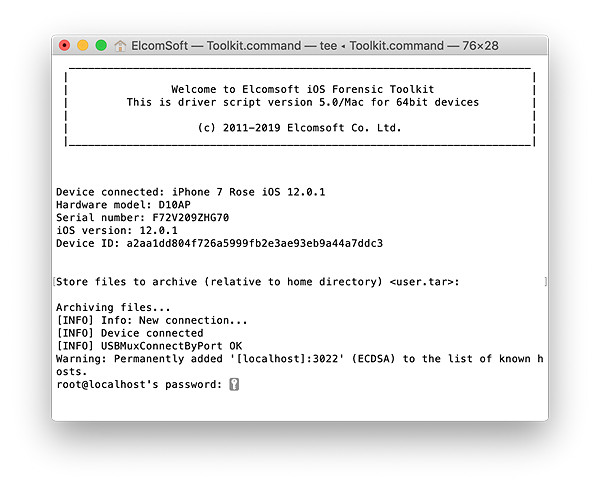
- You will be prompted to enter the root password. By default, the root password is ‘alpine’. You may need to enter the password several times.
- The file system image will be dumped as a single TAR archive.
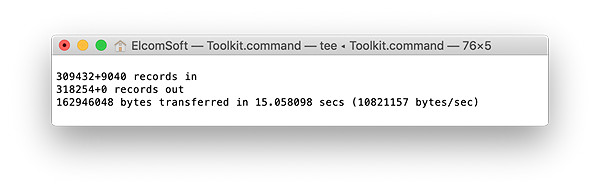
- Wait while the file system is being extracted. This can be a lengthy process.
- When the process is finished, disconnect the device and proceed to analyzing the data.
Decrypting the Keychain
Physical acquisition is the only method that allows decrypting all keychain items regardless of their protection class. In order to extract (and decrypt) the keychain, perform the following steps (assuming that you have successfully paired and jailbroken the device).
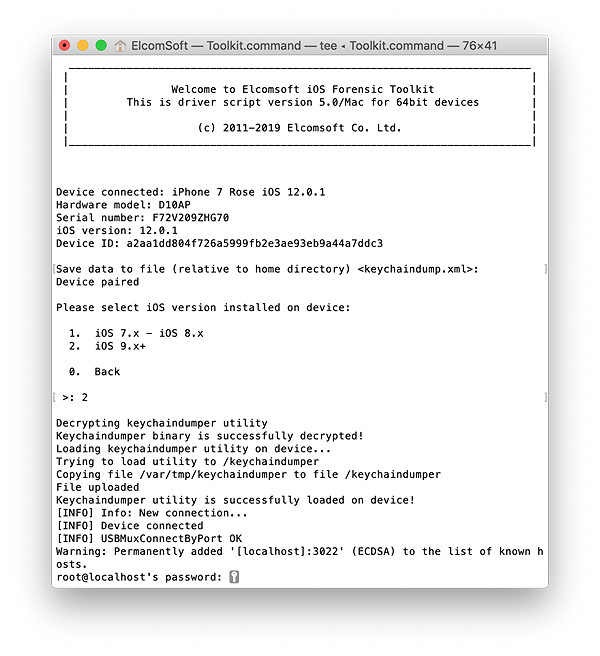
- Launch iOS Forensic Toolkit by invoking the “Toolkit-JB” command.
- Connect the iPhone to the computer and specify the SSH port number (as described above).
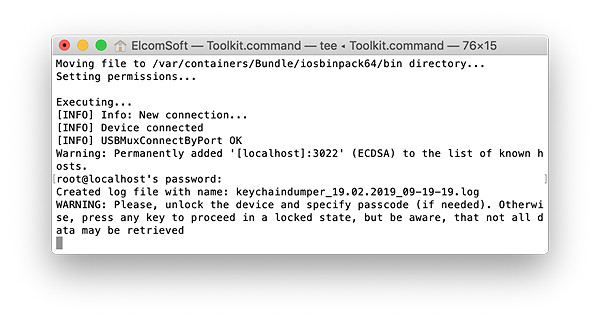
- You will be prompted to enter the root password. By default, the root password is ‘alpine’. You may need to enter the password several times.
- From the main window, enter the “D” (DISABLE LOCK) command. This is required in order to access protected parts of the file system.

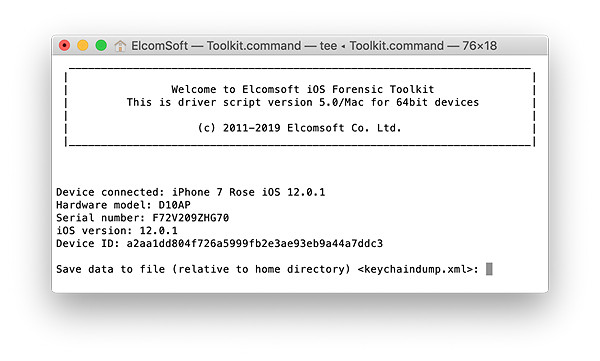
- Now enter the “K” (KEYCHAIN) command. You will be prompted for a path to save the keychain XML file.
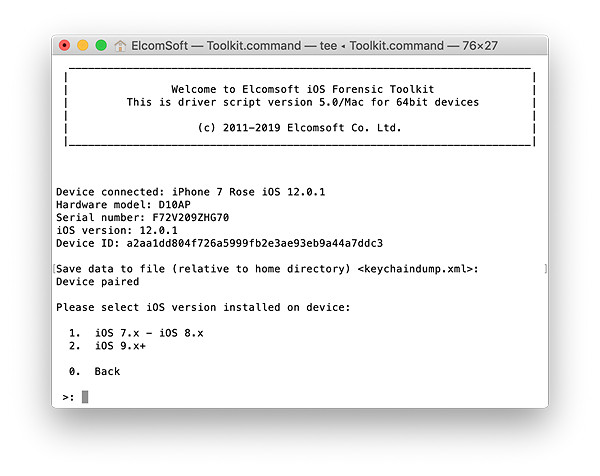
- Specify iOS version (obviously, the second option).
- Enter ‘alpine’ when prompted for a password.
- The content of the keychain will be extracted and decrypted.
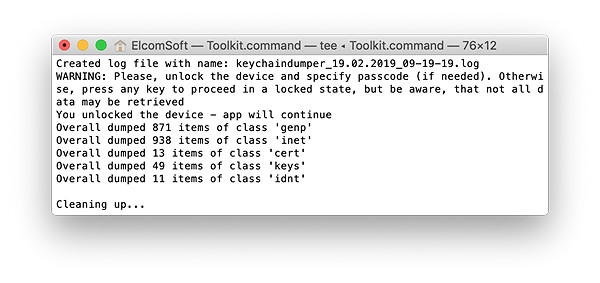
- When the process is finished, disconnect the device and proceed to analyzing the data.
Note: if you see an error message asking to unlock the device, unlock the iPhone and make sure to use the “D” command to disable screen lock.
Analyzing the Data
You can use Elcomsoft Phone Viewer to analyze the TAR file. In order to view the content of the keychain, you’ll need Elcomsoft Phone Breaker.
REFERENCES:

Elcomsoft iOS Forensic Toolkit
Extract critical evidence from Apple iOS devices in real time. Gain access to phone secrets including passwords and encryption keys, and decrypt the file system image with or without the original passcode. Physical and logical acquisition options for all 64-bit devices running all versions of iOS.
Elcomsoft iOS Forensic Toolkit official web page & downloads »


- Elcomsoft Phone Breaker 11.03: universal binary for Macs, SMS two-factor authentication restored16 July, 2026
- iOS Forensic Toolkit 10.10 adds pairing-free sideloading of the extraction agent24 June, 2026
- Elcomsoft Phone Breaker 11.2: downloads iOS 26 iCloud backups18 June, 2026
- Elcomsoft Phone Breaker 11.1: reliable iCloud backup extraction26 May, 2026
- ElcomSoft Phone Breaker 11: full overhaul of iCloud extraction30 April, 2026