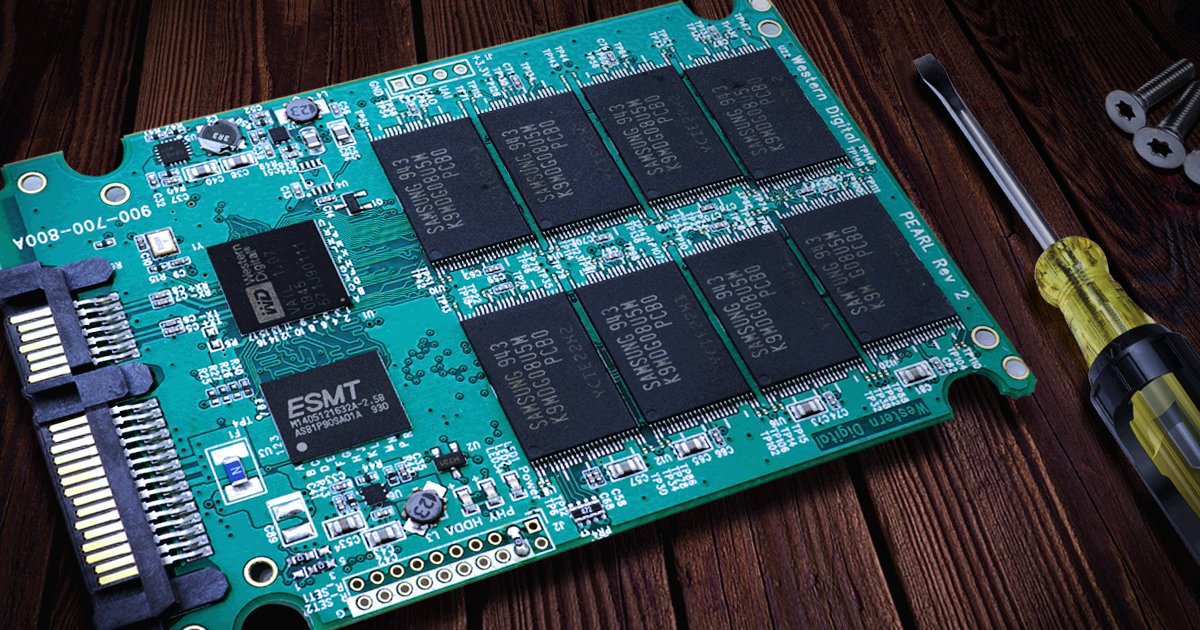
iOS 12.4 File System Extraction
September 6th, 2019 by Oleg AfoninCategory: «Did you know that...?», «Elcomsoft News», «Tips & Tricks»
The iOS 12.4 jailbreak is out, and so is Elcomsoft iOS Forensic Toolkit. Using the two together, one can image the file system and decrypt the keychain of iPhone and iPad devices running most versions of iOS (except iOS 12.3 and and the latest 12.4.1, but 12.4 is still signed right now).
There is more to this jailbreak situation than meets the eye. There is not one but two different jailbreaks: unc0ver and Chimera. Both jailbreak tools come in several versions; the differences between their versions are severe. There is also a tool that can access the file system (but not the keychain) on some iOS devices without a jailbreak. Finally, we’ve been able to jailbreak the Apple TV running affected versions of tvOS.
In this article I’ll explain the differences between the two jailbreaks and their versions, provide information about the tool one can use to access the file system without jailbreaking, and provide instructions on how to safely jailbreak in offline mode.
The Exploit
The SockPuppet Flaw (CVE-2019-8605) discovered by Google Project Zero researcher Ned Williamson in iOS 12 and previously patched in iOS 12.3 was unpatched by Apple in iOS 12.4. The vulnerability in the XNU kernel in both iOS and macOS was patched by Apple in May 2019 in iOS 12.3.
The vulnerability exists in all versions or iOS 11, iOS 12.0-12.2, and iOS 12.4. All generations of Apple hardware from A7 through A11 are fully affected, while the latest A12 and A12x devices are “partially affected” (full table). The jailbreaking comminute had since discovered the chain of exploits required to achieve tfp0 on all affected devices including the A12 (iPhone XS, iPhone XS Max, iPhone XR, iPad Mini (2019), iPad Air (2019)) and A12x (iPad Pro (11” and 12.9”)).
“In July 2019, Williamson released SockPuppet and SockPuppet2, exploit code that “achieves kernel_task port” or task_for_pid(0) (tfp0), which is highly sought after for jailbreaking Apple devices” (Tenable). The exploit code was picked up by jailbreak developers and led to the release of unc0ver jailbreak.
Apple patched the vulnerability again in iOS 12.4.1. As a result, iOS 12.3, 12.3.1, 12.3.2, iOS 12.4.1 and iOS 13 (beta) are not affected.
unc0ver
The first jailbreak exploiting the vulnerability was unc0ver. At the moment, unc0ver still is the less reliable jailbreak on some devices (especially on thise running iOS 12.4). However, it’s the most compatible one as it supports all versions of iOS 11 and iOS 12 up to 12.4 with the exception of iOS 12.3.x.
unc0ver is a classic jailbreak featuring file system remount and Cydia package manager. There is one exception: unc0ver 3.5.5 works as a “partial” jailbreak for A12 and A12x devices (the iPhone Xs/Xr generation). This particular version does not remount the file system on the A12(x) devices; however, it still provides a working SSH daemon (you can select from OpenSSH and Dropbear) and access to the file system. In a sense, unc0ver 3.5.5 is similar to the rootless jailbreak when used on A12(x) devices only. We recommend unc0ver 3.5.5 on A12(x) devices. If you go with unc0ver on a different generation device, get the newest versions of the jailbreak.
- Download link: https://unc0ver.dev/
- GitHub: https://github.com/pwn20wndstuff/Undecimus
- Direct download link: unc0ver 3.5.5 (check unc0ver.dev / previous versions if direct download does not work).
Chimera (iOS + tvOS)
Chimera was the second jailbreak released for iOS 12.4. Chimera comes from a different team with a different philosophy. Chimera developers opted to use the new package manager Sileo as opposed to Cydia in unc0ver; tweaks are injected with Substitute (Chimera) as opposed to Cydia Substrate (unc0ver). Interestingly, unc0ver developers have decided to use Substitute on A12 and A12x devices as Cydia Substrate is difficult or impossible to run on this hardware.
Chimera download link: https://chimera.sh/
The choice of the package manager and tweak injection methods in fact affects forensic experts. What is important:
- File system remount. Generally speaking, we don’t want file system remount on devices we want to extract data from. unc0ver 3.5.5 is the only jailbreak that does not remount the file system — but for A12 devices only.
- The bundled SSH daemon. We need SSH to connect to the device. unc0ver has an option to install OpenSSH or Dropbear; looks like the first one is a bit more reliable. Chimera uses Dropbear.
- A12 and A12x support (iOS 12.2, 12.4). Only unc0ver supports A12(x) devices; Chimera does not (at the time of this writing).
- tvOS support. If you are working on an Apple TV 4 or 4K device, Chimera is the only choice available.
- Reliability. Chimera is far more reliable than unc0ver, as we have found. With unc0ver, we often got random device reboots, or not all the files have been copied and save into .tar archive, or keychain did not extract etc.
Between the two jailbreaks, we strongly recommend using Chimera for most devices and iOS versions, while unc0ver is the only option for iPhone Xr/Xs (as well and 3rd gen iPad Pro) running 12.2 or 12.4; again, we recommend using version 3.5.5 of unc0ver. Please also note that Chimera is the only jailbreak that supports Apple TV running tvOS 12 (more on Apple TV data analysis here).
Chimera is also the only jailbreak we can use with iOS 12.2 and 12.4 to decrypt the keychain.
GeoFilza
Did you know you can access the file system without even jailbreaking? GeoFilza is a file manager for iOS devices running iOS 12.0 to iOS 12.1.2. The tool is made by the security researcher GeoSn0w.
GeoFilza can access the file system by exploiting the vulnerability in iOS 12 through 12.1.2 without jailbreaking. GeoFilza is a clean and simple way to access locked data on the device. However, exporting the data to the computer with GeoFilza is a bit troublesome, though you can use iCloud Drive or Dropbox.
Unfortunately, GeoFilza is not available for iOS 12.4 yet.
Installing the Jailbreak: The Issue of Certificates
Quite a lot has been published about jailbreaking. We have a comprehensive write-up on the subject of installing the jailbreak for physical extraction; read it here in our blog. While that blog post explains everything in great detail, I feel the whole issue of using developer certificates for installing jailbreaks needs to be clarified.
Why do we even need the iOS device to go online while jailbreaking? Because iOS will not run sideloaded apps if they are not signed with a trusted certificate. Cydia Impactor signs the jailbreak IPA on your computer with the Apple ID of your choice. Remember the “trusted” part? iOS still won’t run the sideloaded IPA unless you open the Settings app and “trust” the signing certificate. As you do this, iOS will talk to Apple servers to verify if the signature can be trusted; and this is why the Internet connection is required to jailbreak.
One of the greatest risks of jailbreaking in a forensic lab is exposing the device to the outside world. By allowing the device going online at any time, you are effectively allowing the device to synchronize information, download data that was not available on the device at the time the device was seized. In worst case scenario, you make the device susceptible to pending remote block or remote erase commands.
To avoid all of those complications, it is essential to keep devices offline during all stages of the acquisition process. This helps prevent data leaks and unwanted synchronization and avoids remote device management commands that may remotely block or erase the device.
There are several solutions to this problem. Some experts configure a dedicated Wi-Fi access point to allow connected devices accessing only a few whitelisted IP addresses (such as ppq.apple.com). While this works, enabling Wi-Fi on the device even briefly may still leave room for accidentally connecting to the wrong Wi-Fi network with full connectivity. This would be bad as receiving a remote erase command only takes a brief moment.
As a workaround, some experts connect the device to a chain of two adapters: a Lightning to USB adapter and a USB to Ethernet adapter (or just Lightning to Ethernet; we got a couple of those but did not try them yet). Ethernet is much easier to control, allowing the device to connect to the certificate validation server without the slightest chance of talking to the wrong server.
Finally, you can use reverse internet tethering to enable the iPhone to connect to the Internet through the host computer. Still, you need to whitelist the addresses needed for certificate approval.
There is an easier solution to the dilemma. Instead of using a personal certificate for signing the jailbreak IPA, you can use a developer certificate for that purpose. The developer certificate allows sideloaded apps to run on the iPhone (up to 100 per account) without the need to additionally verify or “trust” the certificate. In other words, if you sign the jailbreak IPA with a developer certificate, you can simply tap the jailbreak icon, and it will launch immediately. No certificate verification and no talking to Apple servers required.
Obtaining a Developer Certificate
Developer certificates are only available to registered Apple developers. In order to become a registered Apple developer, you’ll have to enroll in the Apple Developer Program. When starting the enrollment, make sure to enroll as an organization; individual developer certificates still require additional validation on the device. You’ll need to submit your D-U-N-S number and pay the fee. Once your enrollment is approved, you will be able to add your Apple ID accounts to the program, and use them to sign IPA files sideloaded to the device.
Do note, however, that every time you use your developer certificate to sign the jailbreak IPA on a new iPhone, that device becomes enrolled in the developer program. The number of iOS devices you can have enrolled is limited. Make sure to remove the iOS device from your Apple Developer account after the extraction.
iOS Forensic Toolkit Tips and Tricks
In our Step by Step Guide to iOS Jailbreaking and Physical Acquisition we described pretty much everything one needs to know about using Elcomsoft iOS Forensic Toolkit for extracting the file system and decrypting the keychain. I won’t repeat the steps here, just mention some tips and tricks that will help you make the process smoother.
Unlock the iPhone before connecting to the computer. iOS may have disabled the USB port with USB restricted mode. If this is the case, the computer won’t be able to detect the iPhone until you unlock it.
Disable Internet connectivity (on both devices). We are always instructing users to ensure that the iOS device being acquired remains in Airplane mode with Wi-Fi, Bluetooth and Mobile data toggles all disabled. If you still experience weird connectivity issues, try disconnecting the iPhone from the computer and close all EIFT terminals (in Windows, there will be an additional terminal window to maintain SSH connection). After that, disable all wired and wireless networks on the computer, then re-launch EIFT and repeat the extraction. This is not the usual “unplug and wait for one minute” type of suggestions you receive from first-level customer support when calling about a weird issue. Disabling network connectivity on your computer helps to ensure that the computer establishes the SSH connection with the right device (we’ve seen cases where EIFT connected to a random iPhone in the room that was connected to the same access point as the expert’s computer).
Verify pairing relationship (or use a lockdown file). If something does not work, make sure that the iOS device has been paired to your computer (trusted relationship established or a valid pairing/lockdown file used).
Unlock iOS device screen and keep it unlocked at all times during the acquisition. We have the “D” (Disable screen lock) command for this purpose. Unlock the device and use the command before you extract the file system or attempt to decrypt the keychain. If you don’t, some items marked as “when unlocked” will not be accessible during the extraction.
Do not remove the passcode! Otherwise, you will lose access to certain types of evidence such as Apple Pay transactions, downloaded Exchange mail and some other data.
Use the device passcode. When you extract the keychain using iOS Forensic Toolkit, passcode prompt may appear on the device. Pay attention to that! And enter it of course. Otherwise, keychain will not extract.
More tips (specific to Windows platform) available here.
REFERENCES:

Elcomsoft iOS Forensic Toolkit
Extract critical evidence from Apple iOS devices in real time. Gain access to phone secrets including passwords and encryption keys, and decrypt the file system image with or without the original passcode. Physical and logical acquisition options for all 64-bit devices running all versions of iOS.
Elcomsoft iOS Forensic Toolkit official web page & downloads »
- iOS Forensic Toolkit 10.10 adds pairing-free sideloading of the extraction agent24 June, 2026
- Elcomsoft Phone Breaker 11.2: downloads iOS 26 iCloud backups18 June, 2026
- Elcomsoft Phone Breaker 11.1: reliable iCloud backup extraction26 May, 2026
- ElcomSoft Phone Breaker 11: full overhaul of iCloud extraction30 April, 2026
- iOS Forensic Toolkit 10.02 adds agent-based extraction for iOS 2629 April, 2026